
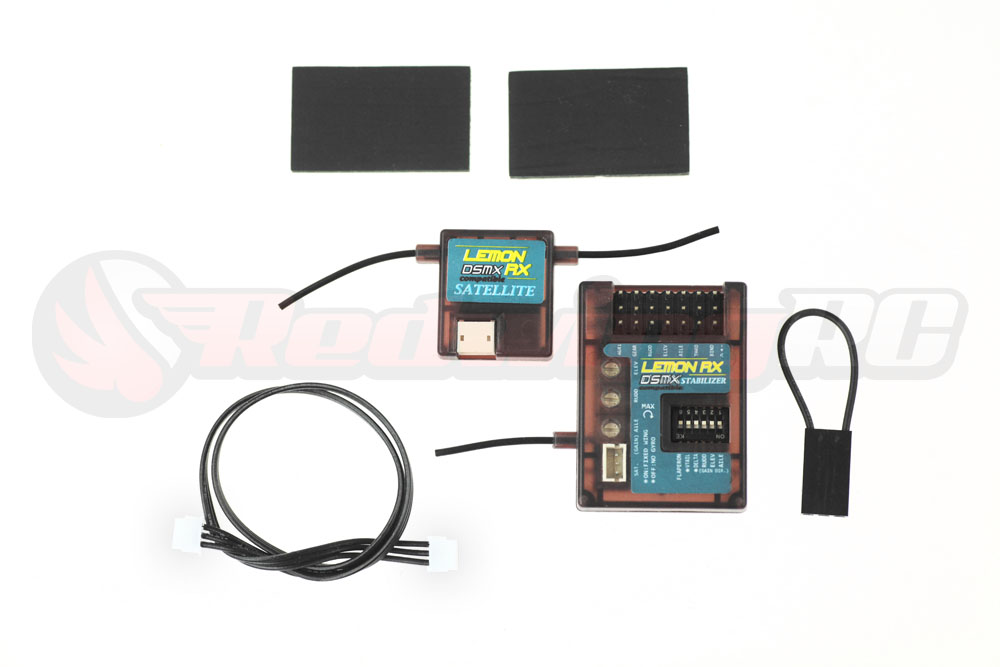
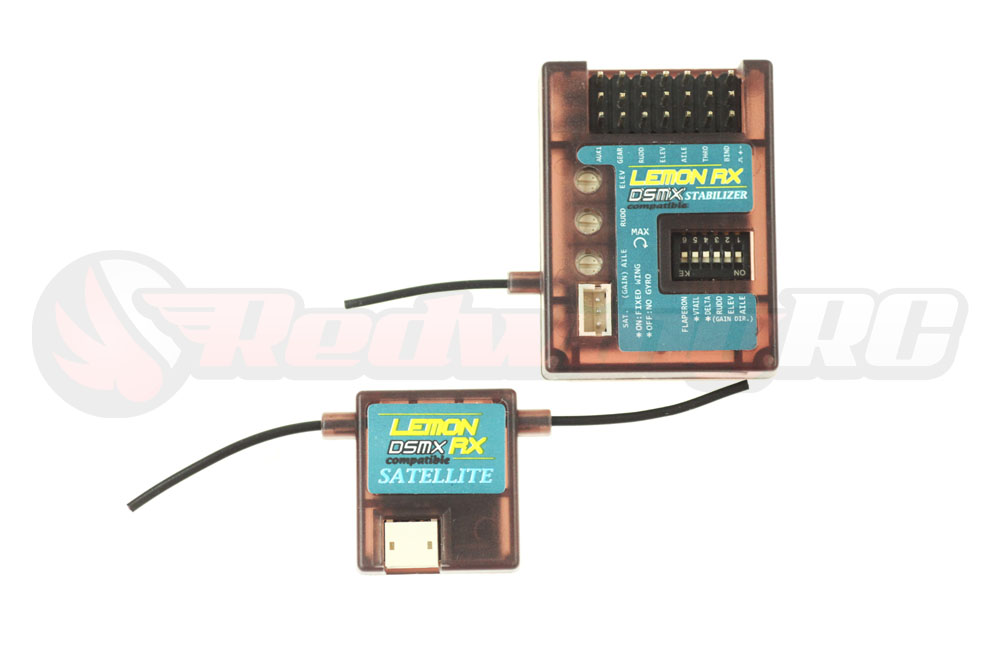
Lemon RX DSMX Compatible 7-Channel with Stabilizer Gyro (Top Pin) w/ compatible Satellite (DSM2 backward compatible)
Description: Lemon Rx DSMX Compatible 7-Channel Stabilizer (Top Pin) + Lemon DSMX Compatible Satellite (DSM2 backward compatible)
Highlight
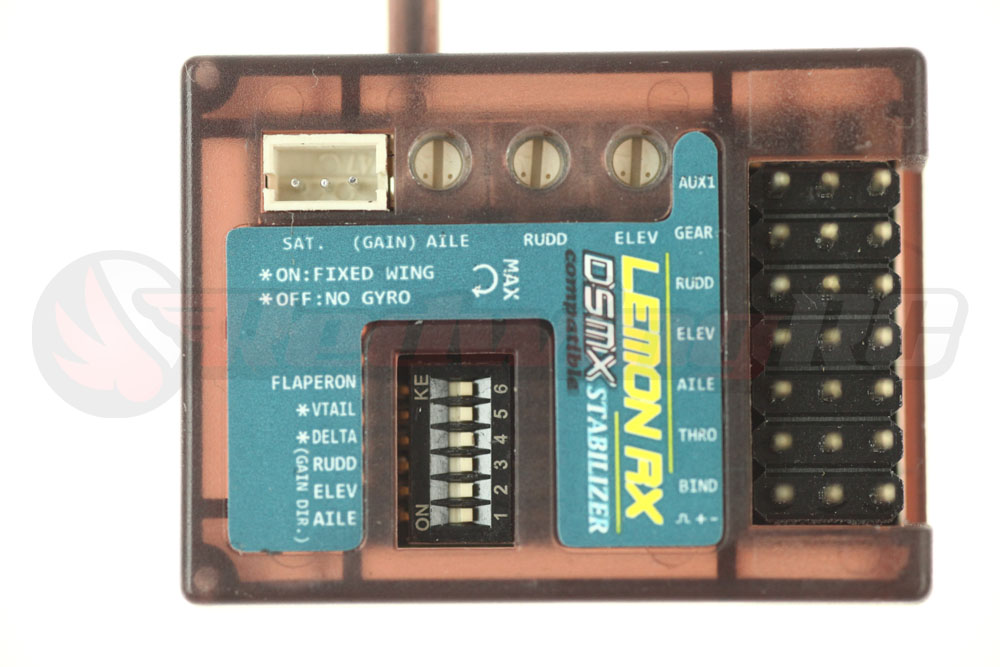
Using the stabilizer as 7-Channel Receiver
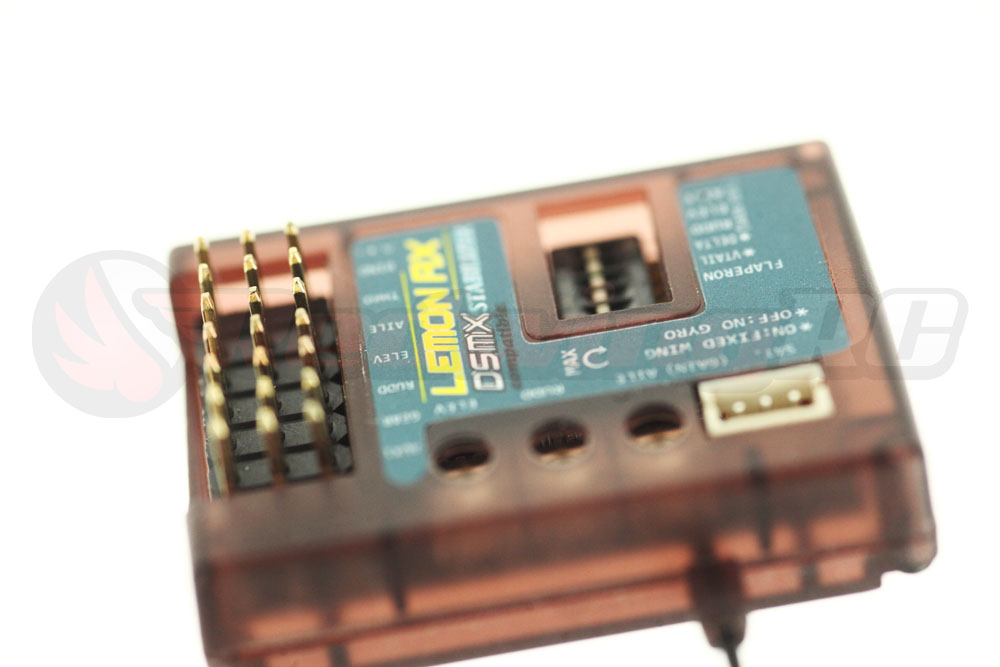
Install location of Lemon Rx stabilizer
Direction of servo movment with changes in direction when stabilizer is enabled
Setup Instruction
|


Spot On 1" Servo Arm
| Untitled Document High Quality 1" Aluminum servo arm from Spot-On RC Spot On Servo Arms are made of high quality 7075-T6 aluminum, one of the highest strength alloys available for this purpose. They feature an ultra secure double lock design, keeping your servo arm secure and eliminating any slop between the main servo gear and the arm. Spot On Servo Arms are also sand blasted and anodized for a beautiful appearance. Spot on offers their servo arms in many sizes, threads and gear output compatibility. Spot On arms are offered in: Available colors are Black or Silver Spot On RC Servo Arms are measured from the center hole of the servo to the outermost hole (for example, a 1” arm is exactly 1” from hole center to hole center). However the larger sizes offer the option of one or two more additional inner holes so you can use them for future projects or fine tune your ratios. Redwing RC only offers the V2, upgraded version, with stronger aluminum and finer design. No matter which Spot On RC Servo Arms you choose you will be sure to experience problem free set up and operation with these high quality servo arms.
|
SPO-SA-
$8.00

Male EC5 to Female T-Plug Deans Style Connector Adapter
Male EC5 to Female T-Plug Deans Style Connector Adapter
Description: Deans T Plug Female to XT90 Male Connector Adapter
|
EX-EC5M-DeansF
$3.99
