
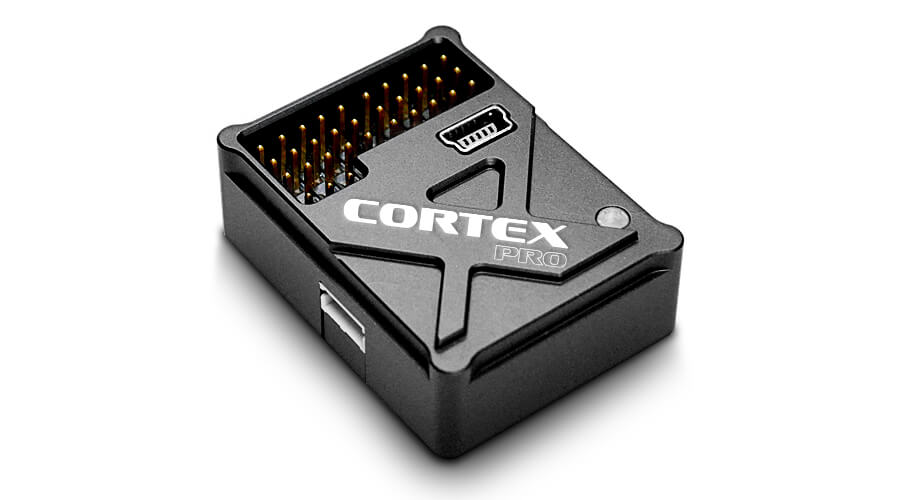
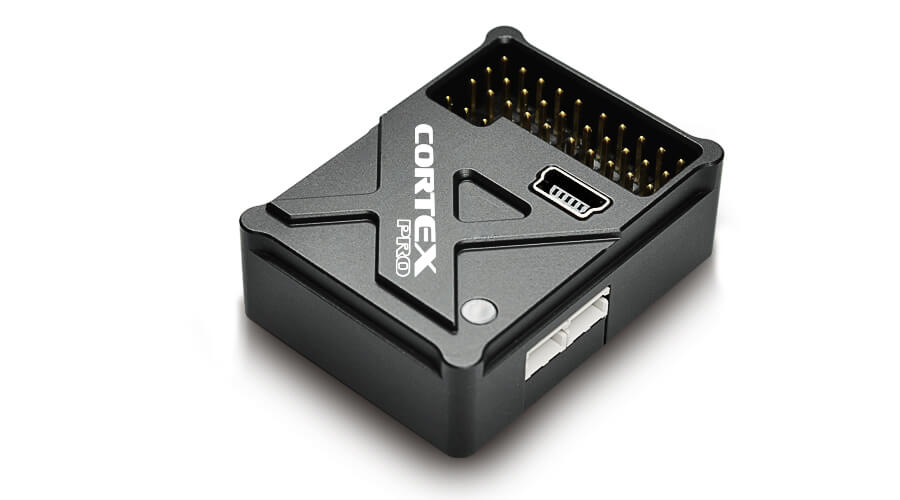
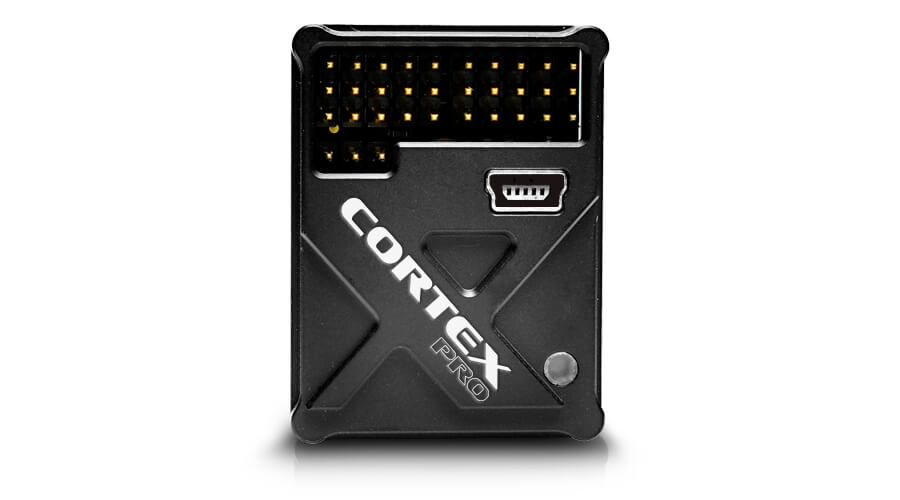
Demon Cortex PRO-3 Axis Gyro System
CORTEX PRO (3-AXIS FIXED-WING GYRO) With the introduction of the CORTEX pro, bavarian DEMON opens up the next generation's gate of 3-axis stabilization systems for fixed-wing aircraft. Based on the latest 32-bit CPU technology and in addition to all state-of-the-art features, the CORTEXpro offers a bunch of great new options for more flexibility, compatibility, comfort in flight and setup. The combination of easy programming and basic setup without software, automatic signal type detection, compatibility with all common analog and digital serial protocols, as well as the dual and redundant serial input and output option, are absolutely unique. Let the DEMON take control over your cockpit and test the CORTEXpro now! More fun, more safety, more comfort – presumably, only your breath will backpedal... + CLICK HERE TO THE SETUP-VIDEOS FEATURES
DELIVERY
MORE INFORMATION
|
 Wingspan - PNP")
Dynam Albatros D.Va 1270mm (50") Wingspan - PNP
| Dynam Albatros D.Va 1270mm (50") Wingspan - PNP RedwingRC Plug-and-Play aircraft! Check out this really interesting design in the Warbird series- The Messerschmitt BF-110. This is such a great plane and because its constructed with damage resistant EPO foam it is very durable and will last along time. The Messerschmitt BF-110: 2X the motors, 2X the fun!!! This model come with Flaps, Retracts, 2 ESCs, 2 Motors, and all the required servos. (Flaps will require a servo reverser either external or on the Transmitter). The build on this one is very easy and straight forward. The only surprise is the minimal work needed to get this plane in the air. The twin motors will provide more than enough power and a majority of the flight can be flown at 50% throttle. ** Please note: It is important to calibrate the throttle and check the settings for both motors since this is a twin. Video:
Key Features:
Specifications:
|
DY37210
$249.99
 for Beginners with Xpilot Stabilization System")
VOLANTEXRC P47 4-CH Ready to Fly (RTF) for Beginners with Xpilot Stabilization System
| VOLANTEXRC P47 4-CH Ready to Fly (RTF) for Beginners with Xpilot Stabilization System |
EXA76116RRB2
$129.99
")
Lemon RX DSMP 7-CH TELEMETRY STABILIZER & T-PLUG ENERGY METER (DSMX/DSM2 COMPATIBLE)
| Lemon RX DSMP 7-CH TELEMETRY STABILIZER & T-PLUG ENERGY METER (DSMX/DSM2 COMPATIBLE)
Description: Lemon Rx DSMX Compatible 6-Channel Receiver + Lemon DSMX Compatible Satellite
Highlight
Setup Instruction Binding
Setting Failsafe
|

LM-0086T
$41.99