
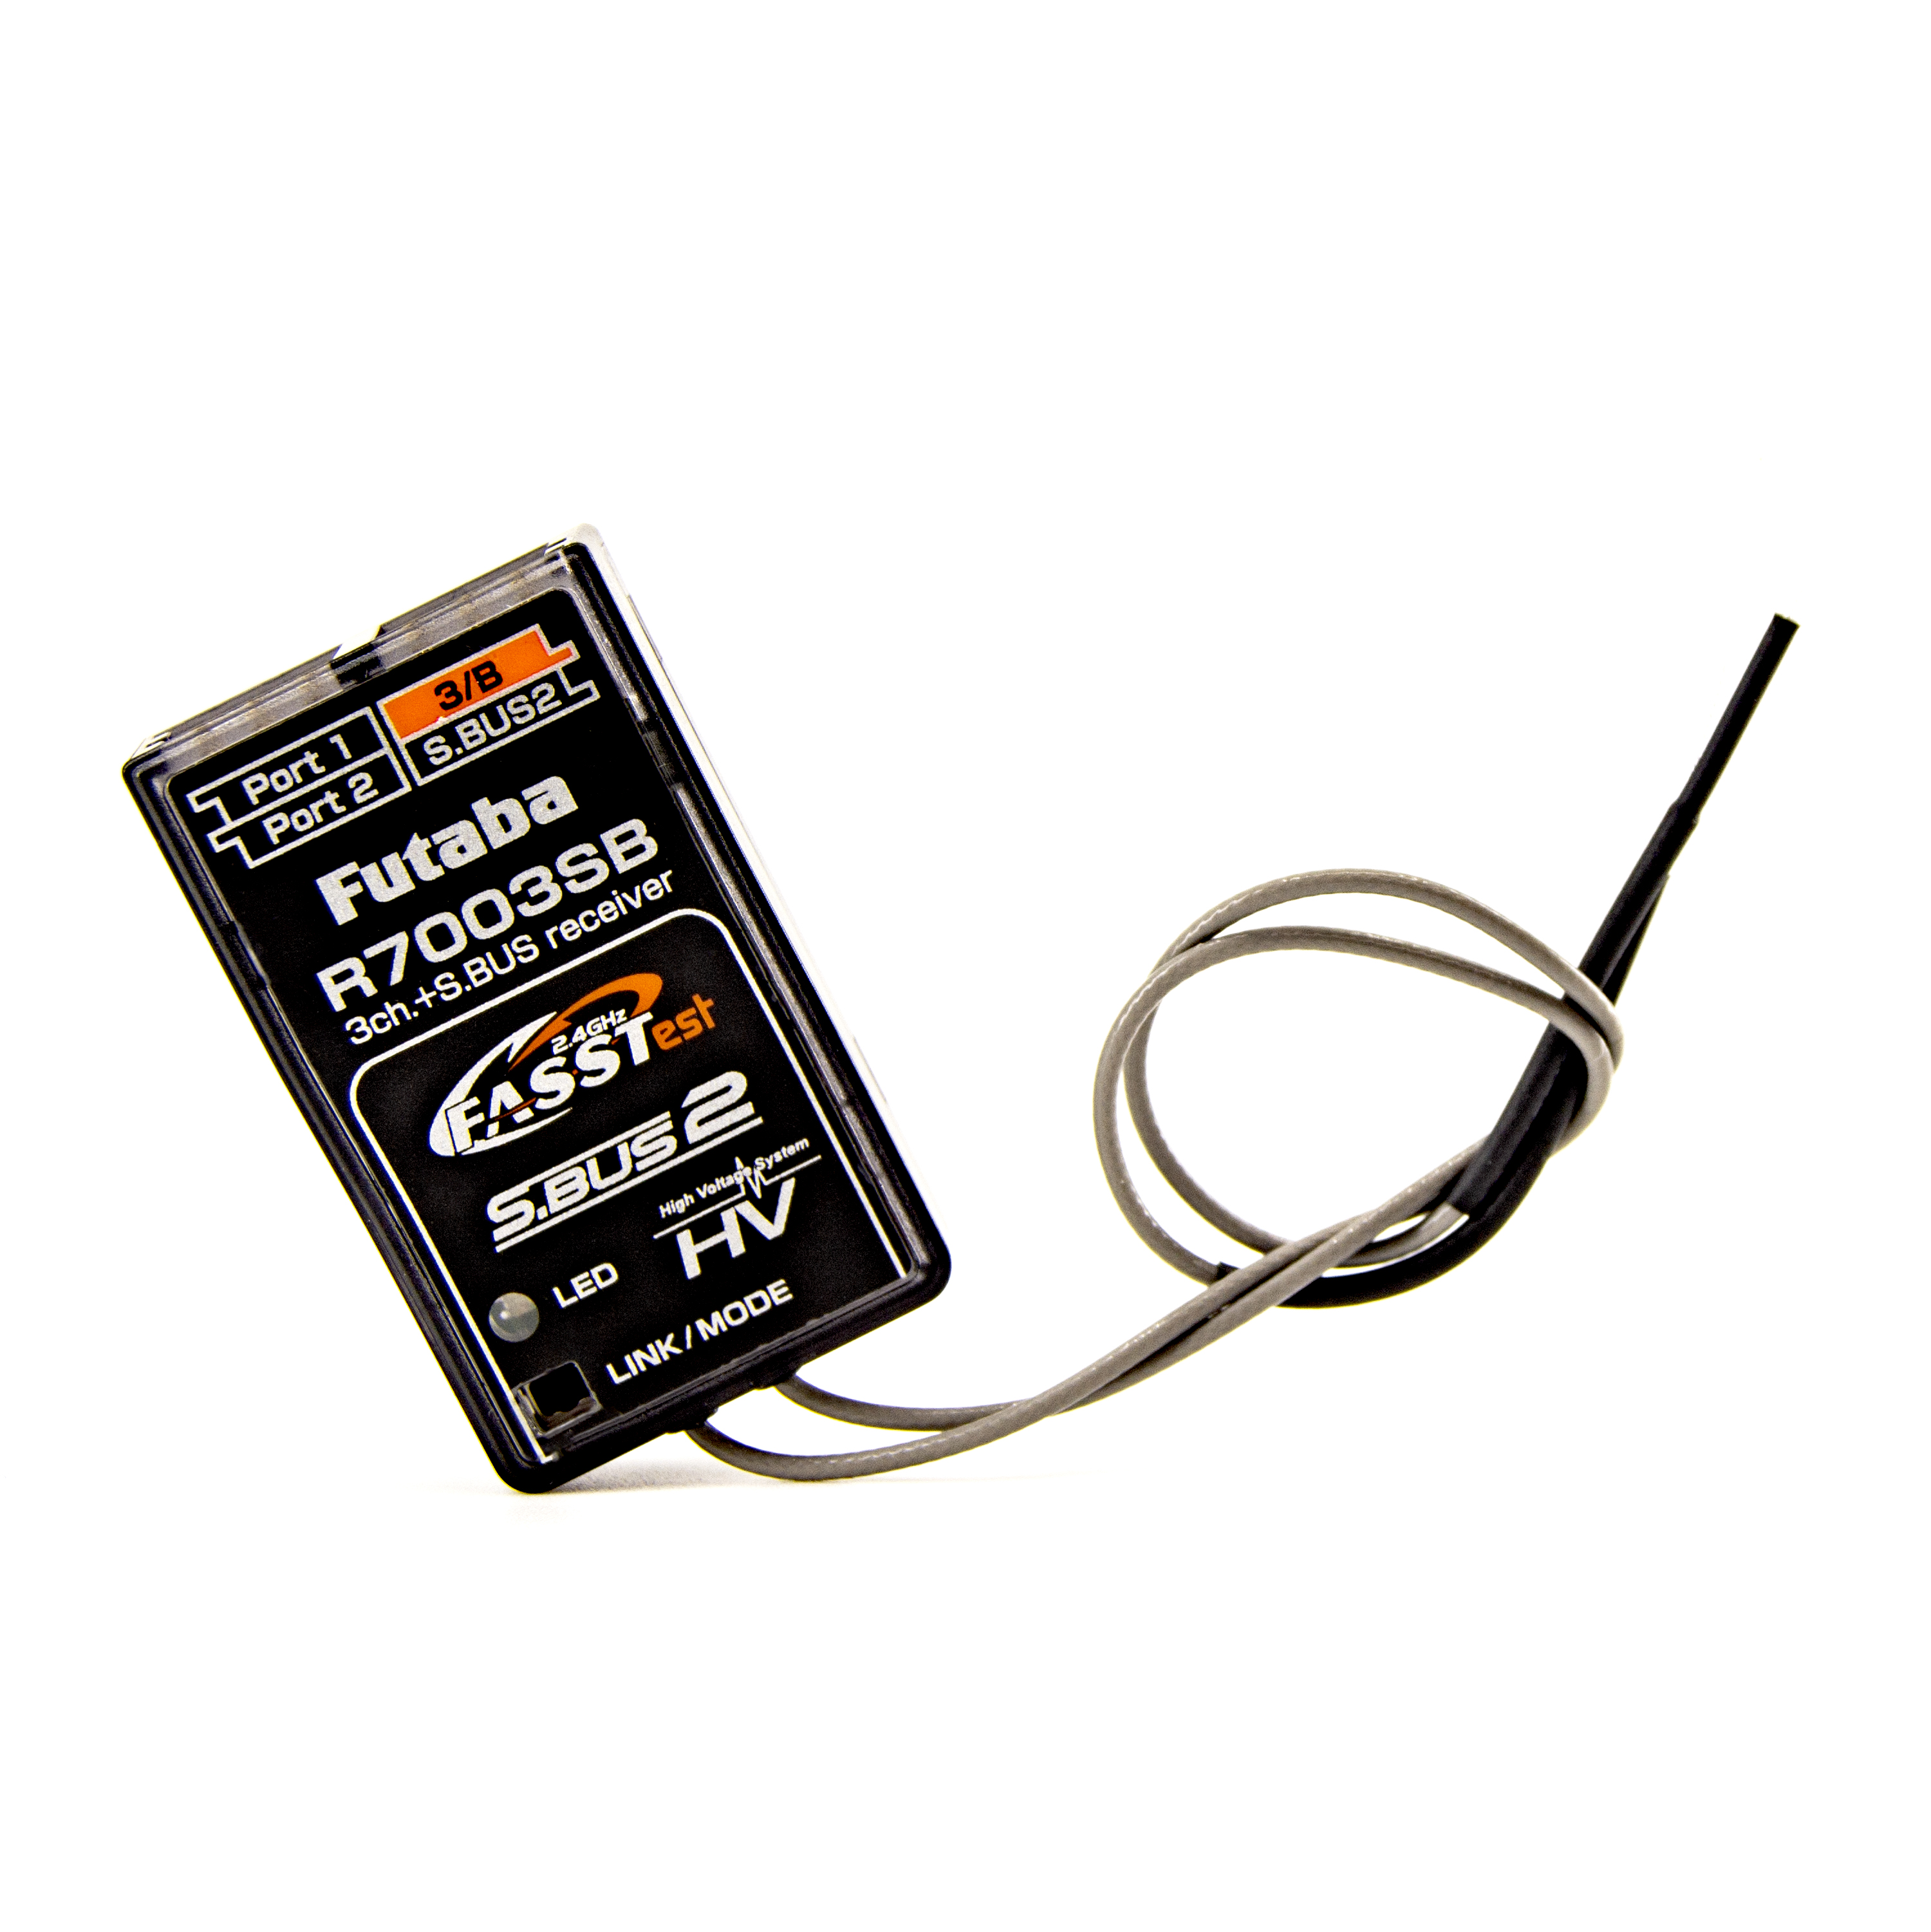
FUTABA R7003SB FASST 2.4GHz 3-Channel BiDirectional High Voltage Receiver For aircraft models
R7003SB FASST 2.4GHz 3-Channel BiDirectional High Voltage Receiver For aircraft models. Features:
Specifications:
|

Xion Wing Lock Replacement Cam Levers
| Xion Wing Lock set replacement cam levers. These fit 6mm and 1/4 20 winglocks |
XRC-Cam
$6.00
")
NEW
Redcat Gen8 V2 International Scout II 1/10 4WD RTR Scale Rock Crawler w/2.4GHz Radio (Green)
| Redcat Gen8 V2 International Scout II 1/10 4WD RTR Scale Rock Crawler w/2.4GHz Radio (Green) |
BH-65855-green
$329.99
 MICROBRICK WITH 2 ON-BOARD SERVOS and MOLEX 1.25MM CONNECTOR PACKAGE")
Lemon RX DSMP (DSMX/DSM2 COMPATIBLE) MICROBRICK WITH 2 ON-BOARD SERVOS and MOLEX 1.25MM CONNECTOR PACKAGE
| Lemon RX DSMP (DSMX/DSM2 COMPATIBLE) MICROBRICK WITH 2 ON-BOARD SERVOS and MOLEX 1.25MM CONNECTOR PACKAGE
Description: Lemon Rx DSMX Compatible 6-Channel Receiver + Lemon DSMX Compatible Satellite
Highlight
Setup Instruction Binding
Setting Failsafe
|

LM-0070M1
$48.00