
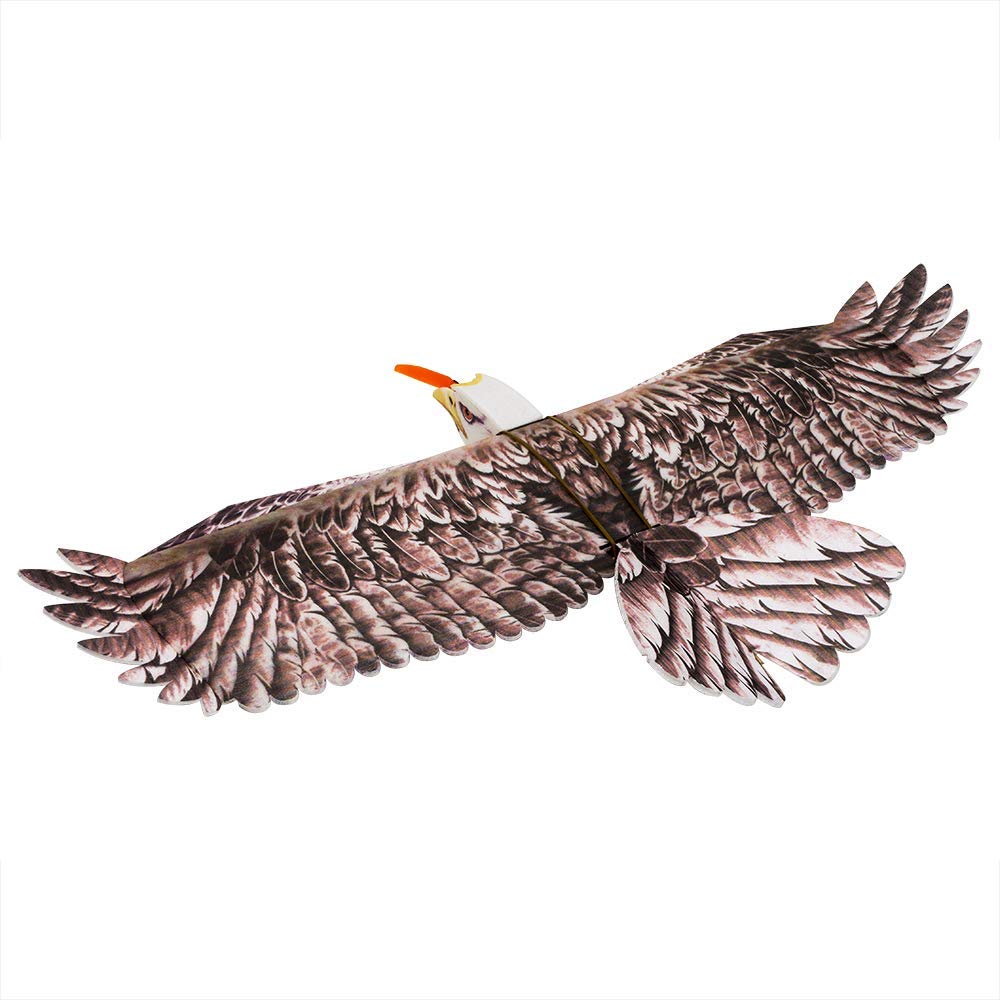
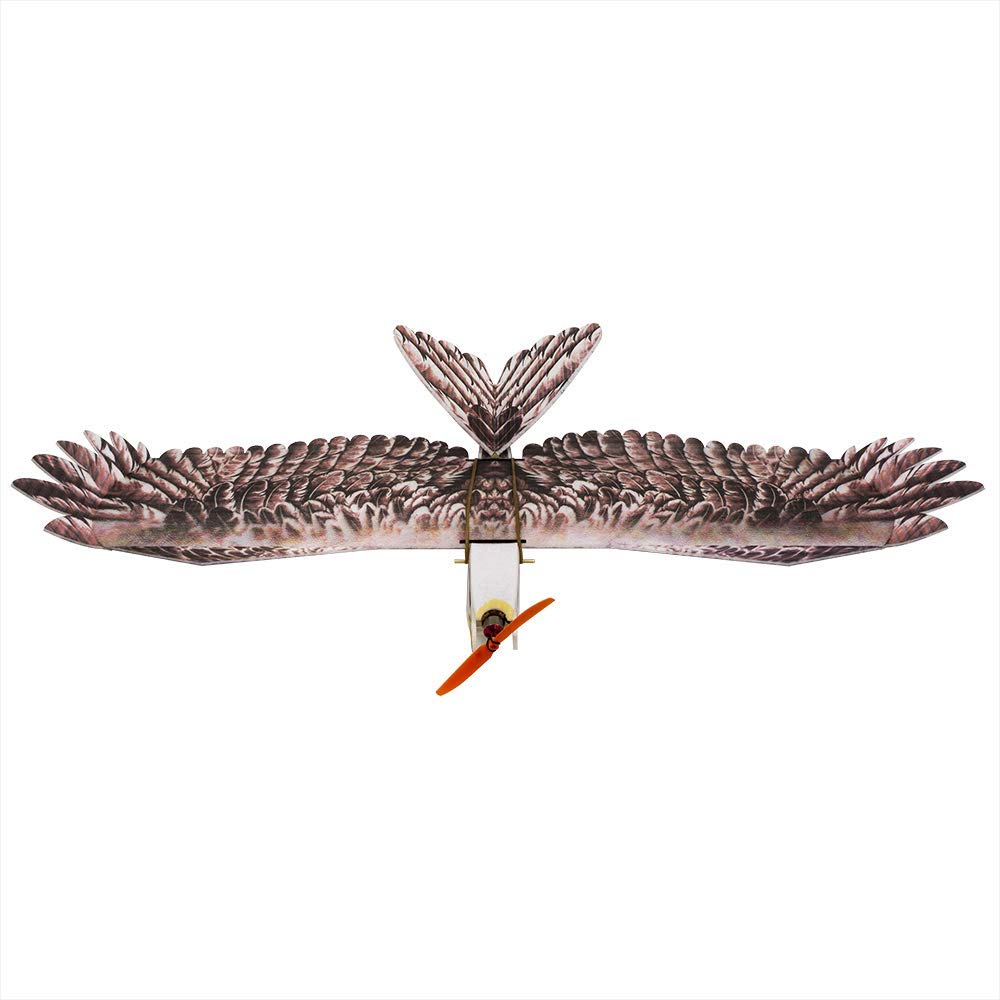
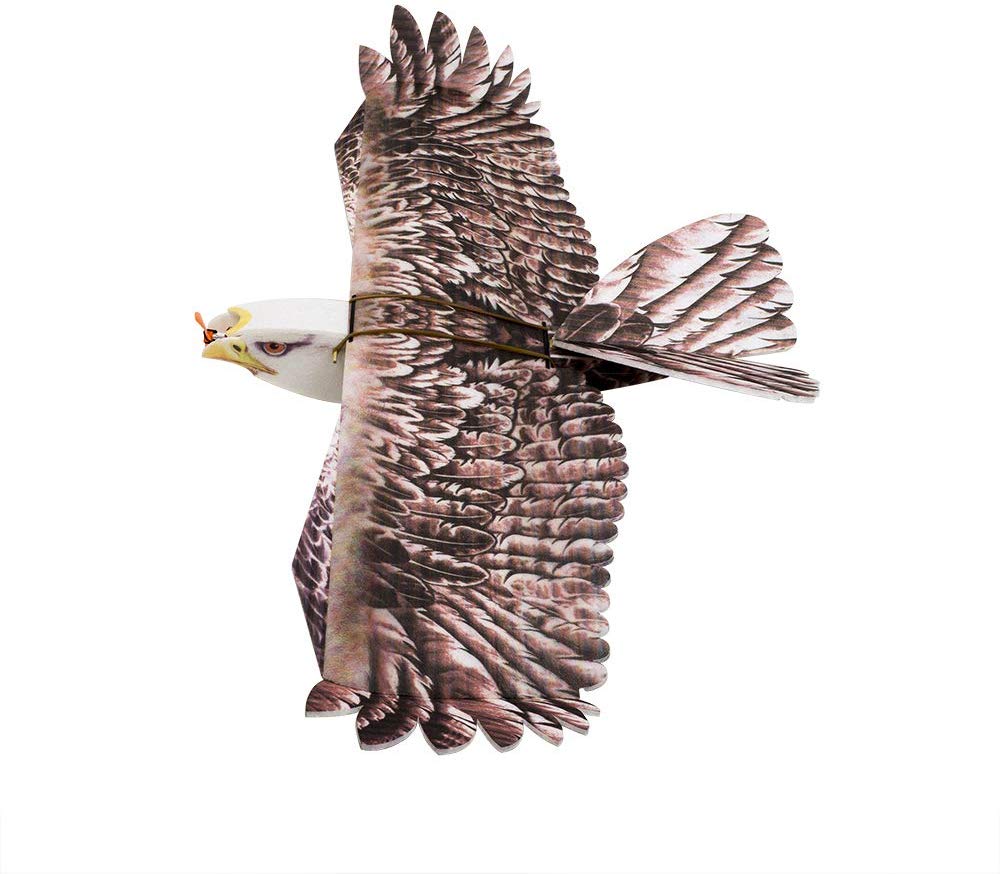
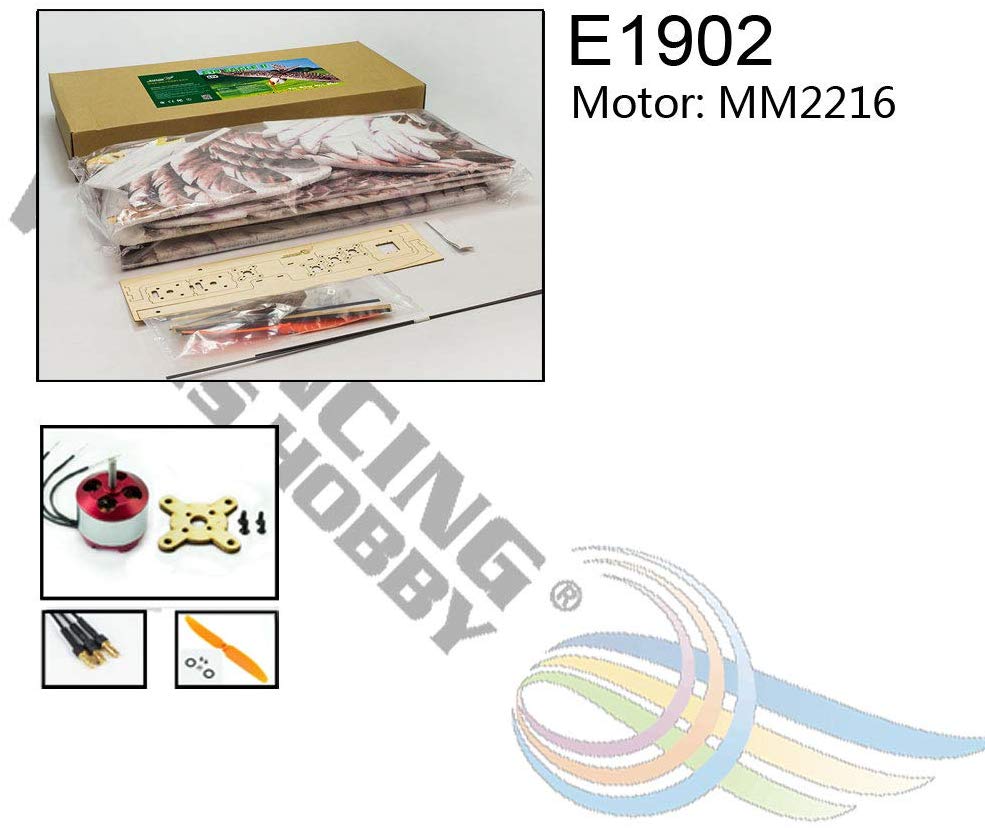
EPP Eagle II Airplane 56.3" (1430MM) Wingspan
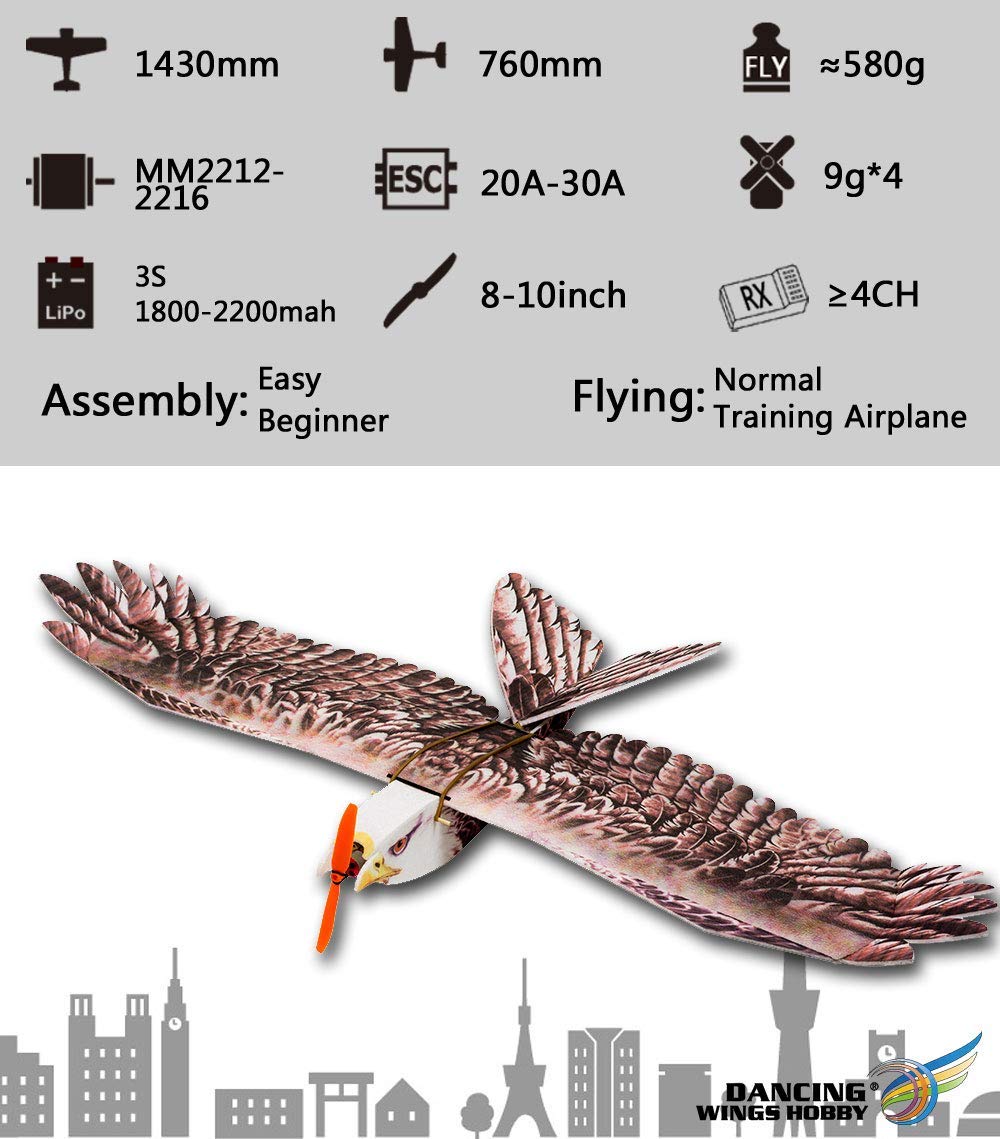
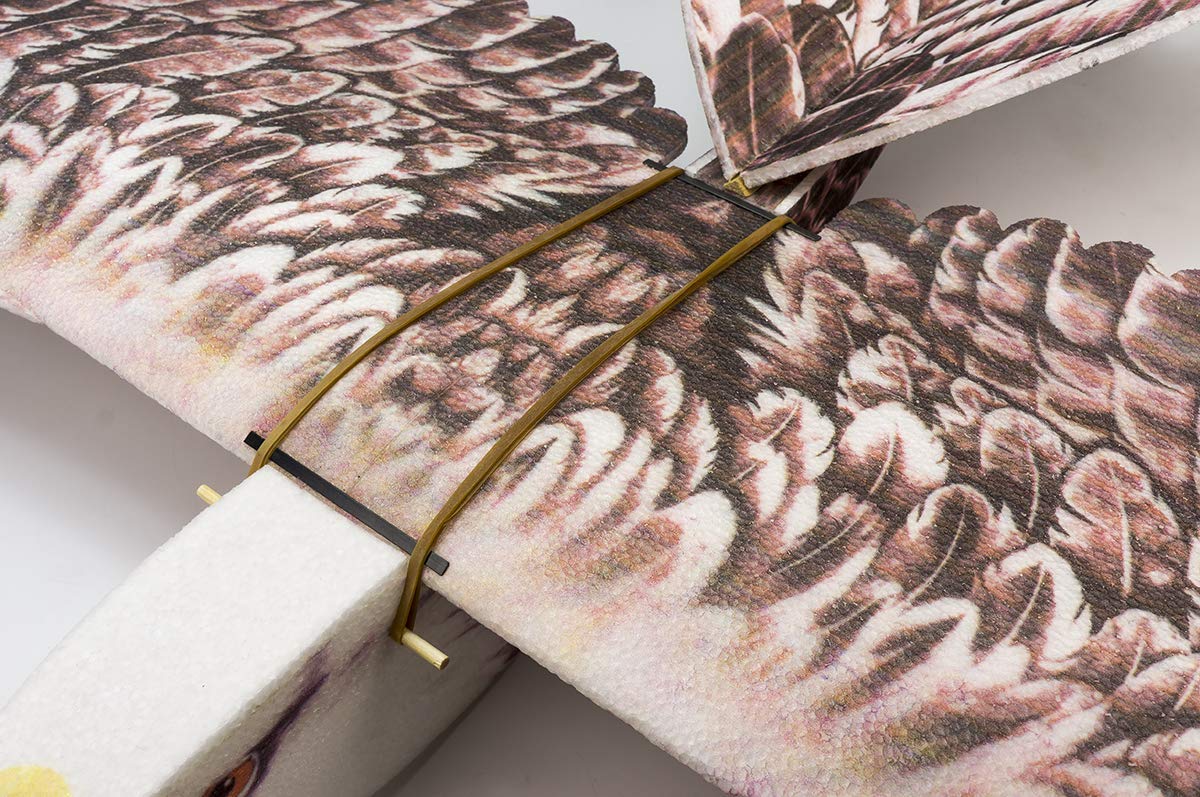
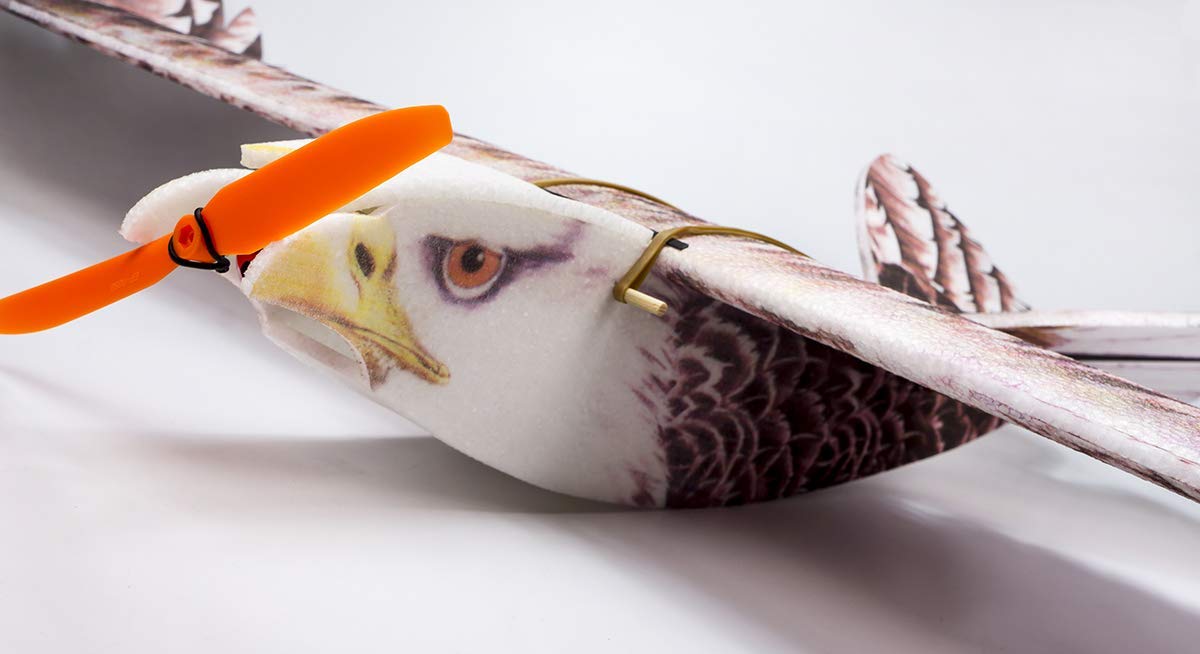
56.3" EPP Eagle-II Airplane Slow Flyer Soar with the eagles, with the new improved Eagle II EPP Slow Flyer. This fun, all EPP foam airframe is a real head turner. This sport scale model of an Eagle, has the outline that will fool most, including local wild life. The large wing and light weight give the Eagle EPP a very low wing loading, making it a fun flyer on calm wind days, even able to catch thermals, like its flappy wing counterparts. The PNP version comes with an outrunner motor with included propeller makes for a perfect combination of power, yet ultra quiet performance. A O-ring style prop saver protects the prop in case of those abrupt arrivals with the ground as does the rubber band on wing. A full carbon spar keeps the wing stiff, providing a more consistent control feel. Just add your choice of 9g servos, 20~30A ESC, and 3S 11.1V 2200mAh Lipo, and you can have the Eagle EPP in the air in no time flat at a very economical price. Or select the PNP version which includes the KIT+Motor+ESC(20A E-Power+3.5mm Banana Female Plug+XT60 Plug)+Servo (9g*4). Take to the skies with something different, fun, and relaxing with the Eagle II EPP. You'll be turning heads everywhere you go! Features:
Specification:
Suggested Power System:
Different versions supplied as below: |


MPI Charge Switch with On-board Battery Checker
|
Description:MPI Charge switch with LED indicator for HiTec and JR leads and on-board battery checker! The three LEDs - green, yellow, & red - monitor the status of the flight pack. It is designed to test the battery under the actual load of the on-board equipment. The switch is factory preset to 4.8V applications - but for 6V use, simply cut the jumper loop on the back of the switch and seal the wires with silicone glue or tape. The jumper wires can be reconnected for 4.8V operation. Features:
|
MPI-5470
$29.95

Triplane Fokker DR.1 770mm Wingspan Laser-Cut Wood Model Kit
| Triplane Fokker DR.1 770mm Wingspan Laser-Cut Wood Model Kit |
DW-S1704
$99.00
")
Lemon RX DSMP 6-CH RECEIVER (DSMX/DSM2 COMPATIBLE)
| Lemon RX DSMP 6-CH RECEIVER (DSMX/DSM2 COMPATIBLE)
Description: Lemon Rx DSMX Compatible 6-Channel Receiver + Lemon DSMX Compatible Satellite
Highlight
Setup Instruction Binding
Setting Failsafe
|

LM-0080
$19.99