
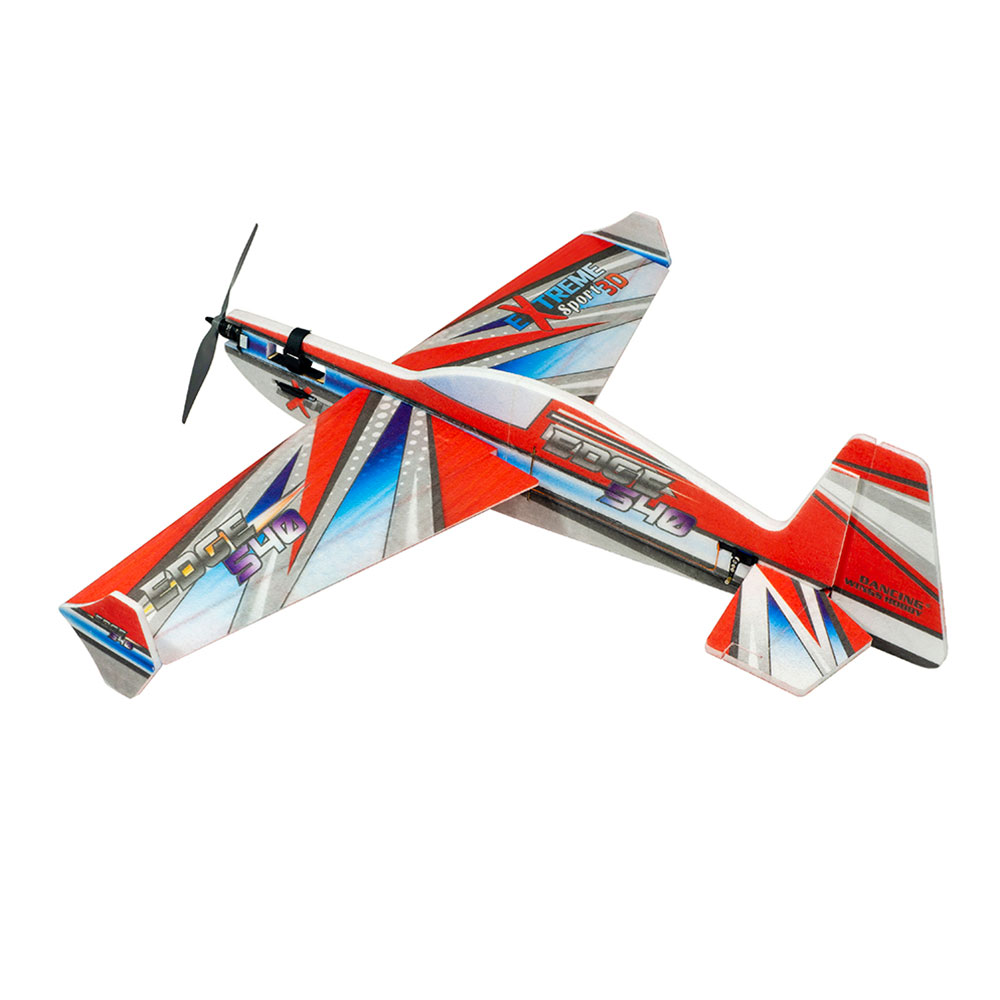
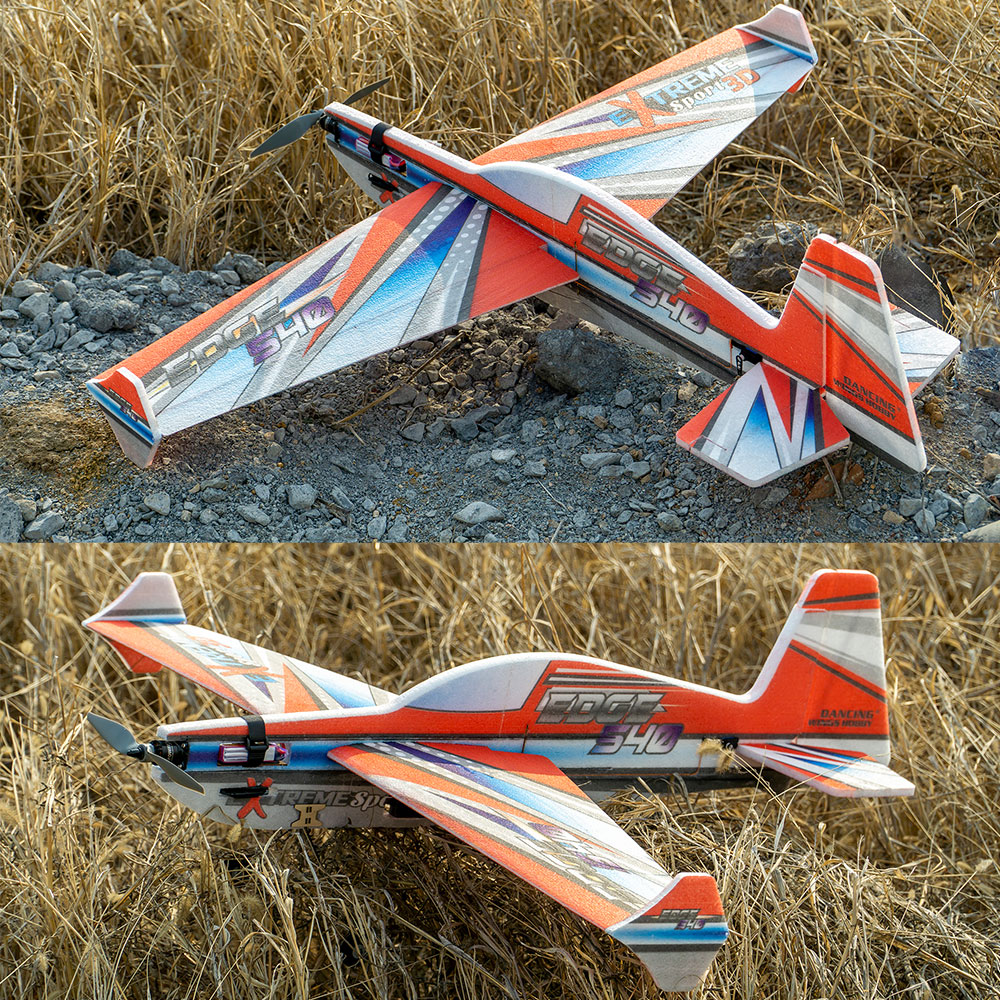
EPP Edge 540 Extreme Sport 3D Airplane 43.3" (1100MM) Wingspan
EPP Edge 540 3D Airplane 43.3" (1100MM) Wingspan Features:
Specification:
Suggested Power System:
Different versions supplied as below:
|


 Wingspan (Electric EPP Foam)")
EXTRA-NG 3D Airplane 47.2" (1200MM) Wingspan (Electric EPP Foam)
| EXTRA-NG 3D Airplane 47.2" (1200MM) Wingspan (Electric EPP Foam) |
DW-E3804-Extra-NG
$79.00

Aluminum Louver Cooling Vent Large
Description: Needing a sweet looking ventilation set up on your cowl so that your engine can purr with ease? Don't worry - we got this. Check out this lightweight, aluminum cooling vent! Not only will it look sleek on any plane - but it also offers twice as much cooling as those make-shift modifications to your cowl. |
SS-CV-02
$6.99
 Servo Harness 6\" Male 6\" Female 20 AWG")
MULTIPLEX (MPX) Servo Harness 6" Male 6" Female 20 AWG
|
Description:
|
MPX-Single-6/6
$10.99
")
Lemon RX DSMP 7-CH RECEIVER (DSMX/DSM2 COMPATIBLE)
| Lemon RX DSMP 7-CH RECEIVER (DSMX/DSM2 COMPATIBLE)
Description: Lemon Rx DSMX Compatible 6-Channel Receiver + Lemon DSMX Compatible Satellite
Highlight
Setup Instruction Binding
Setting Failsafe
|

LM-0081
$21.99