
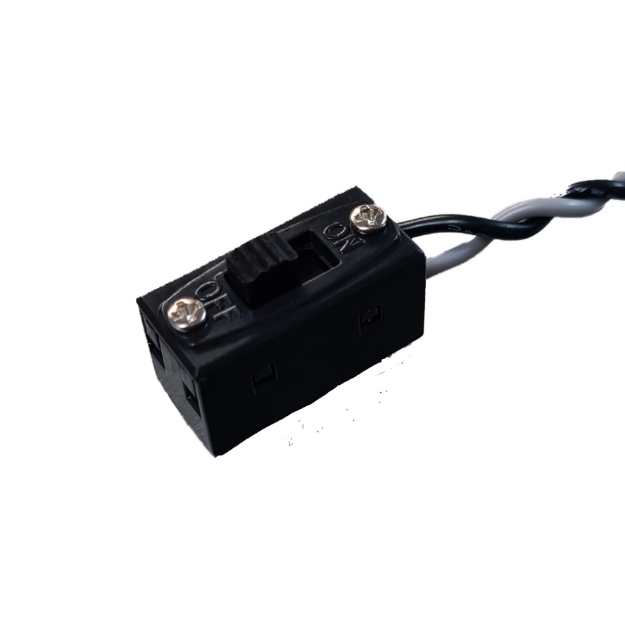
MICRO SWITCH (for Smart Bus RRS, Smart Switch, Multi Switch, Multi Reg and Smooth Flite)
MICRO SWITCH (for Smart Bus RRS, Smart Switch, Multi Switch, Multi Reg and Smooth Flite) The AR Micro switch is a ultra light weight fail safe switch designed for use with The Advanced radio Smart range of products. Compatible with Smooth Flite, Smart Buss RRS and ARXL, Smart Switch, Q-Switch, Multi Switch and Reg Switch. PLEASE NOTE: Not compatible with Spektrum, Smart Fly or Smart Bus Extreme. |

Servo Safety Clips
| Description: |
EX-clip
$4.95
 MICROBRICK WITH 2 ON-BOARD SERVOS and 2.54MM HEADER PINS")
Lemon RX DSMP (DSMX/DSM2 COMPATIBLE) MICROBRICK WITH 2 ON-BOARD SERVOS and 2.54MM HEADER PINS
| Lemon RX DSMP (DSMX/DSM2 COMPATIBLE) MICROBRICK WITH 2.54MM HEADER PINS
Description: Lemon Rx DSMX Compatible 6-Channel Receiver + Lemon DSMX Compatible Satellite
Highlight
Setup Instruction Binding
Setting Failsafe
|

LM-0070H
$48.00
")
BLS-H41B V2 HELICAL GEAR, HV-DIGITAL, HIGH TORQUE, HIGH SPEED, BRUSHLESS +Servo Arm (48.9kg/679.2oz, 0.08 sec at 8.4V)
BLS-H41B V2 HELICAL GEAR, HV-DIGITAL, HIGH TORQUE, HIGH SPEED, BRUSHLESS +Servo Arm (48.9kg/679.2oz, 0.08 sec at 8.4V) |
BBR-BLS-H41B
$99.99