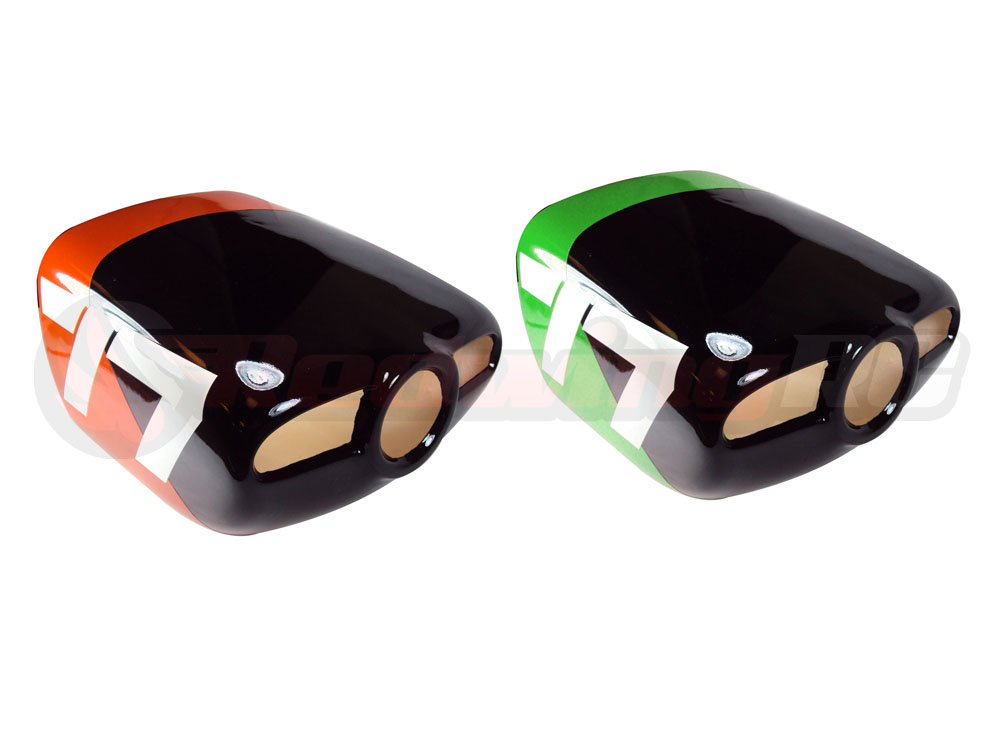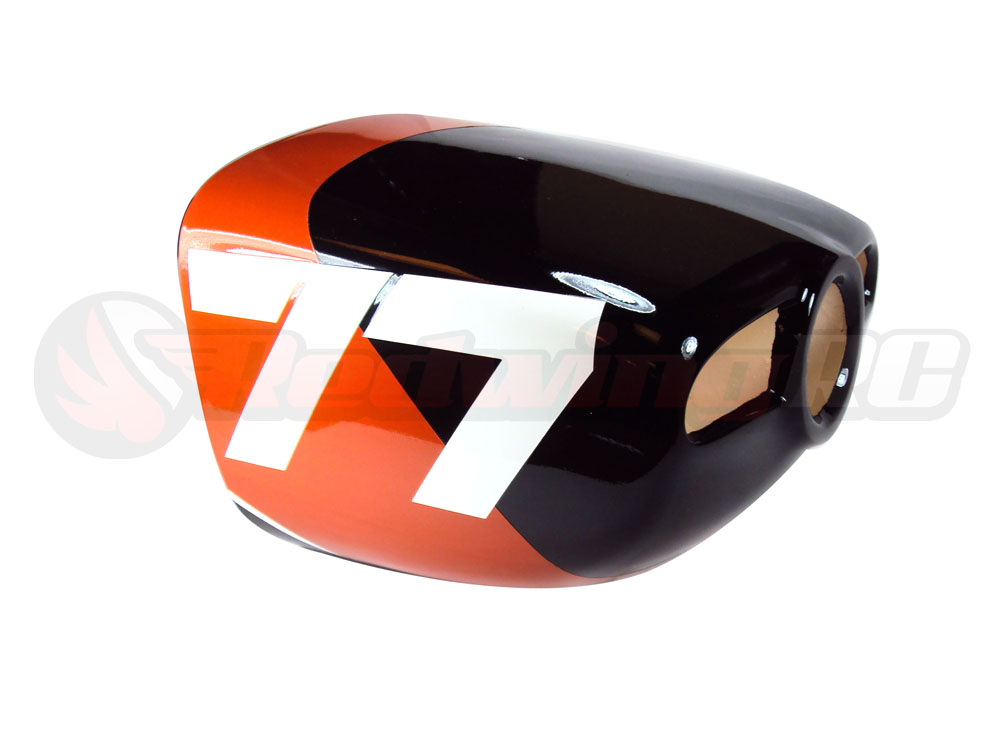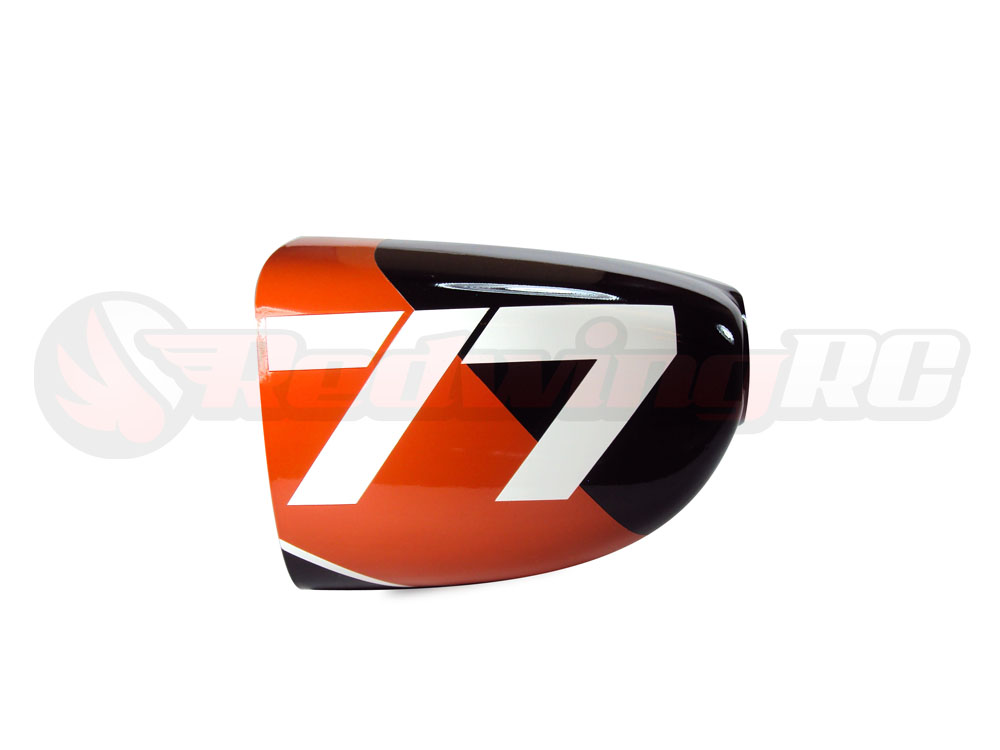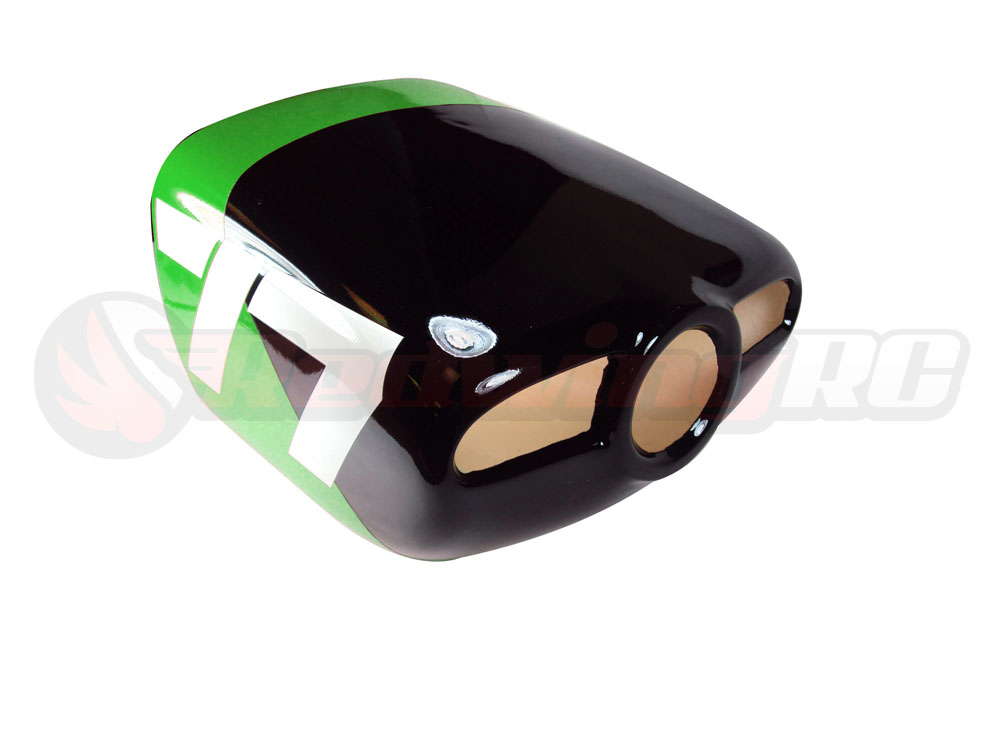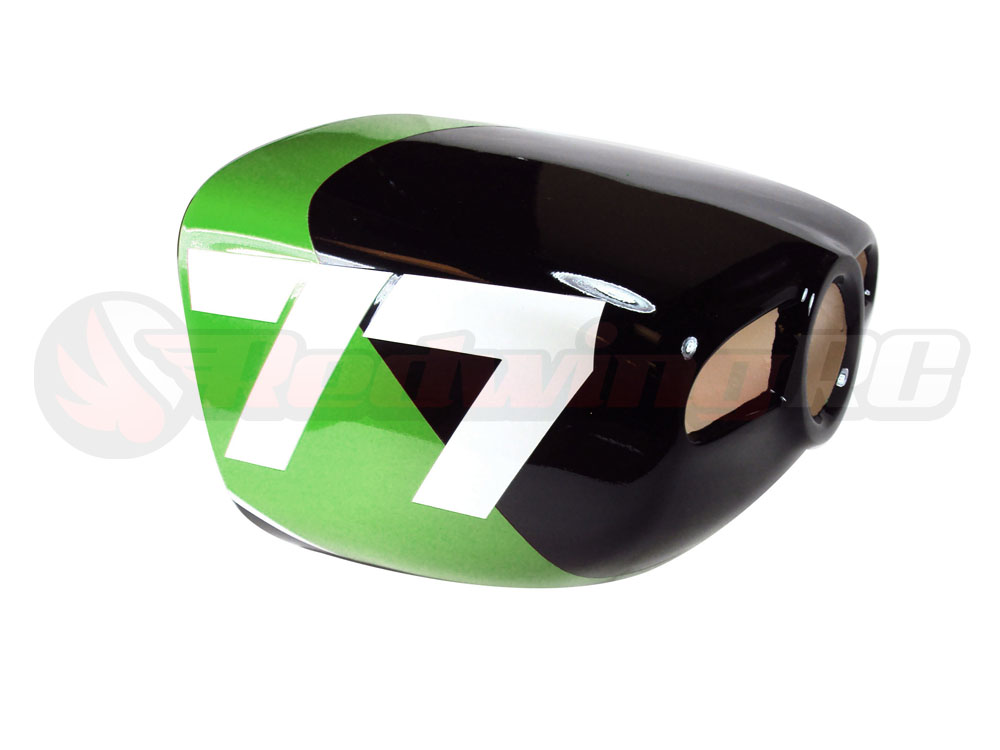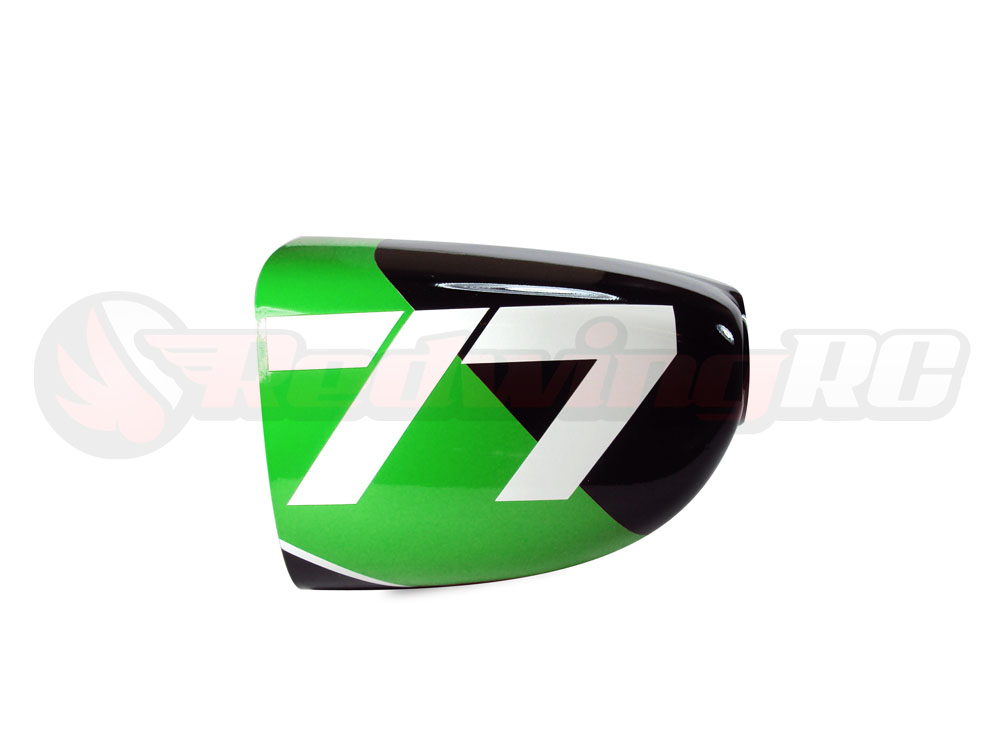
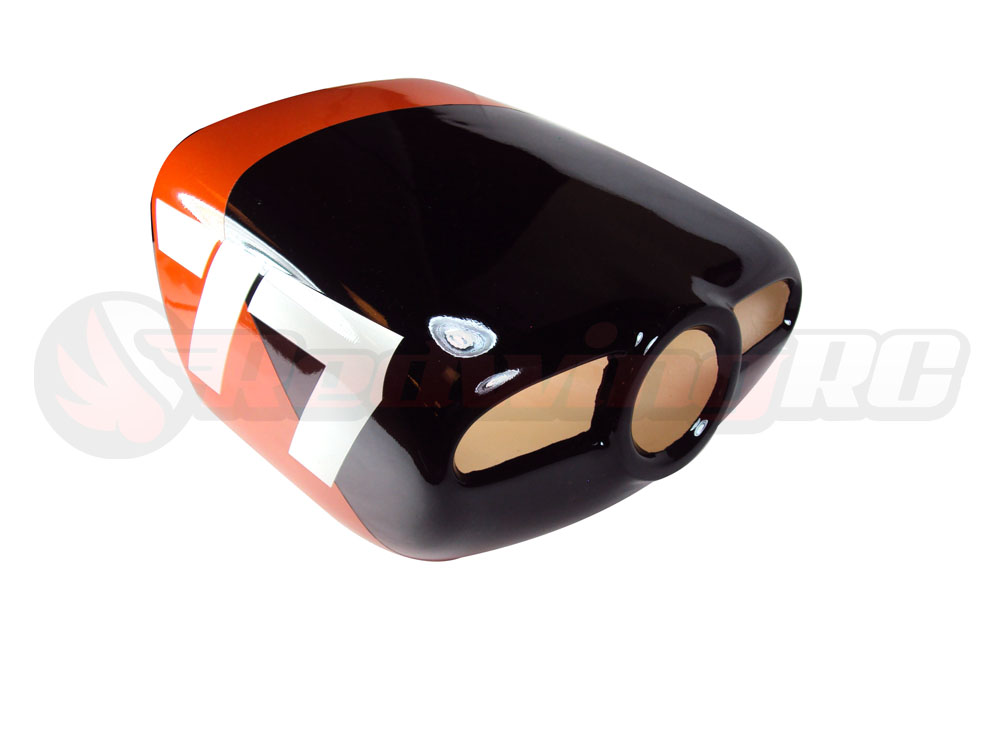
30cc Slick Replacement Cowl

Contact UsCustomer Reviews

30cc Slick Replacement Cowl

30cc Slick 540 Replacement Cowls Redesigned
Our Price:

$39.99


Color Choice
Quantity (13)

Availability 13 in stock
Weight 3.00 lbs
SKU CW-SS-SLK-G

Replacement cowls for our original 30cc Slick 540 and the New Re-Design Slicks! Just like the plane, these cowls are available in 2 color schemes. 

It's back and better than ever! The RedwingRC 30cc Slick 540 is suited for both extreme 3D and traditional aerobatic/sport flight. Showing both smooth lines and awesome performance, the Slick 540 does most of your typical maneuvers very well: clean knife edge passes, exceptionally smooth rolling harriers, and clean snap maneuvers aided by its designed weight distribution. 

The RedwingRC Slick 540 has been redesigned to give you the best possible flight experience and with the new bold contrasting schemes, you will have great visibility even from a distance.

Click Here to see the 30cc Slick 540


: *
: *
: *
 

Sunbird Glider 63" (1.6M) Wingspan Laser-Cut Wood Model Kit

Sunbird Glider 63" (1.6M) Wingspan Laser-Cut Wood Model Kit

DW-F1604

$99.99

Dream-S F3A 50e/50 Class 54" (1380mm) - PNP

Dream-S F3A 50e /50 Class 54" (1380mm) - PNP

FREE Shipping US only--contact us at [email protected] to calculate international shipping cost

*Free shipping is for continental US only

RedwingRC Plug-and-Play aircraft!

Now this is a unique plane for sure! Upgrade that asphalt runway of yours to a pond, lake or pool! The PBY Catalina seaplane is something you have to experience! It took months of flight testing and designing to produce this amazing aircraft. The Catalina is capable of stable flight at really slow speeds making it perfect for any skill level. Get ready for some really neat details and a large 55 inch wingspan! The Catalina is blast to fly and and landing on on water is a piece of cake.

Key Features:

  • Powerful twin 480 size (1100kv) outrunner brushless power system w/ 3-bladed props
  • Twin 30A Brushless ESC with Switch-Mode BEC
  • Durable and lightweight EPO construction with many surface details
  • Excellent Flight Performance
  • Detailed Body Structure
  • Suitable for Both Intermediate and Experienced Pilots.
  • Removable / detachable wing. (4 screws)


Specifications:

Wingspan: 58 inches / 1470mm
Overall Length: 37 inches / 940mm
Flying Weight: 45oz  / 1275 w/Battery
Motor Size: Twin 480 size (2814-1100kv) outrunner brushless motors (installed)
Propeller: 2 x 3 blade props 8 x 6 x 3
Radio / Transmitter 4 Channel (NOT INCLUDED)
Receiver +4 Channel (NOT INCLUDED)
Servos: 4 servos installed ( 2 x 9g - 2 x 17g)
Speed Control : 1 x Dectrum 30A Brushless with Switch-Mode BEC (installed)
Battery: 11.1V 2200 mah (not included)
Charger: 3S+ (11.8v) Lipo Charger (NOT INCLUDED)
Flight Times

Average (8-12 mins)

Assembly Time

Approx 45min


HT-Dream-S-F3A

$299.99

Lemon RX DSMP (DSMX/DSM2 COMPATIBLE) MICROBRICK WITH 2 ON-BOARD SERVOS and 2.54MM HEADER PINS

Lemon RX DSMP (DSMX/DSM2 COMPATIBLE) MICROBRICK WITH 2.54MM HEADER PINS


Description:

Lemon Rx DSMX Compatible 6-Channel Receiver + Lemon DSMX Compatible Satellite


Type: DSMX Compatible Full Range Receiver
Number of Channel: 6
Modulation: DSMX Compatible (Also DSM2 backward Compatible)
Band: 2.4 GHz
Dimension: 25(L) x 18(W) x 11(H)  mm
Weight: 4.5 grams + 2.5 grams
Voltage Range: 3.45 - 8.4 V


Highlight
- FailSafe for all channels via press of a button
- DSMX Satellite port


Understanding the receiver


Setup Instruction

Binding

  1. Plug bind plug to the receiver.
  2. Provide power to the unit. LED flashes quickly.
  3. Enable bind mode in transmitter and ensure distance separation of 2 meters from receiver. Solid LED light means binding is completed.
  4. Remove bind plug.

Setting Failsafe

  1. Start by binding the receiver to the transmitter in the normal way and proceed as follows to set failsafe
  2. Ensure that transmitter and receiver are turned on.
  3. Insert bind plug into the receiver (Note: to set failsafe, bind plug is applied only when the receiver is turned on).
  4. Set transmitter controls to the desired failsafe positions.
  5. Press the side pushbutton to memorize failsafe settings.
  6. Observe that the green light at the end of the receiver turns on to indicate failsafe is set. (Repeat step 4 will cause the LED to turn off which means failsafe is disabled).
  7. Remove bind plug.
  8. Disconnect the power for at least 2 seconds and then reconnect the power again. Test failsafe by turning off the transmitter.


LM-0070H

$48.00