
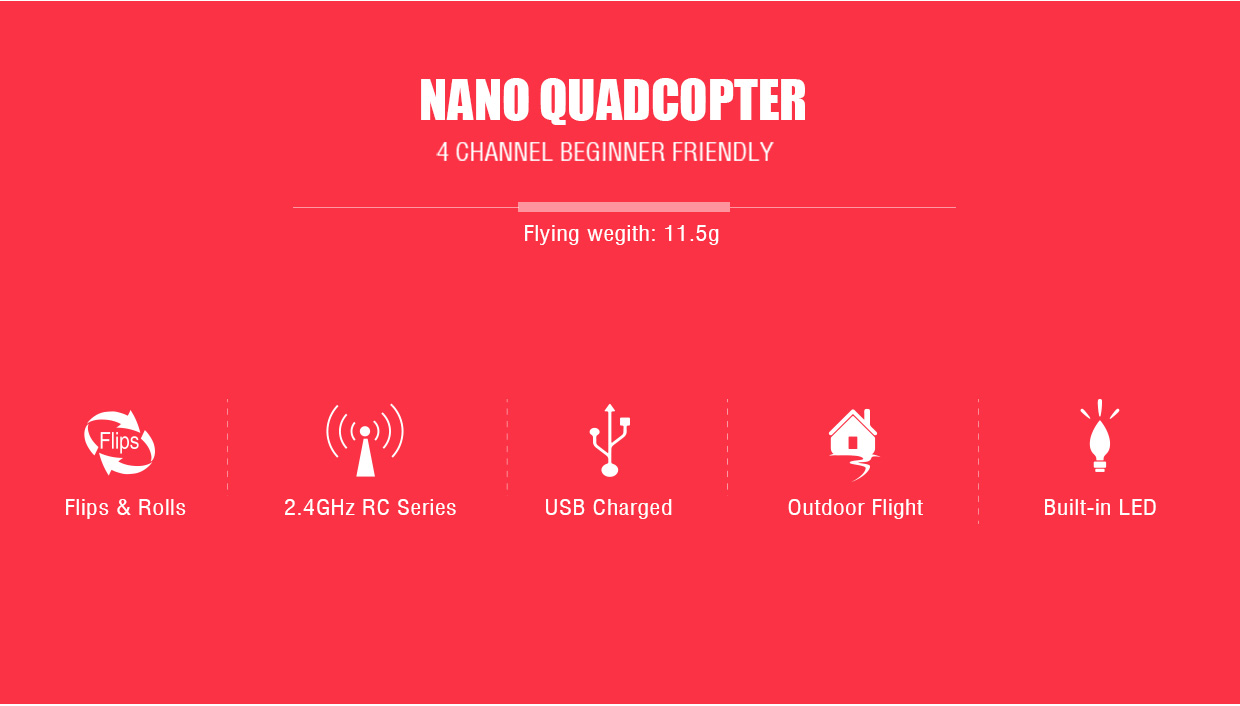
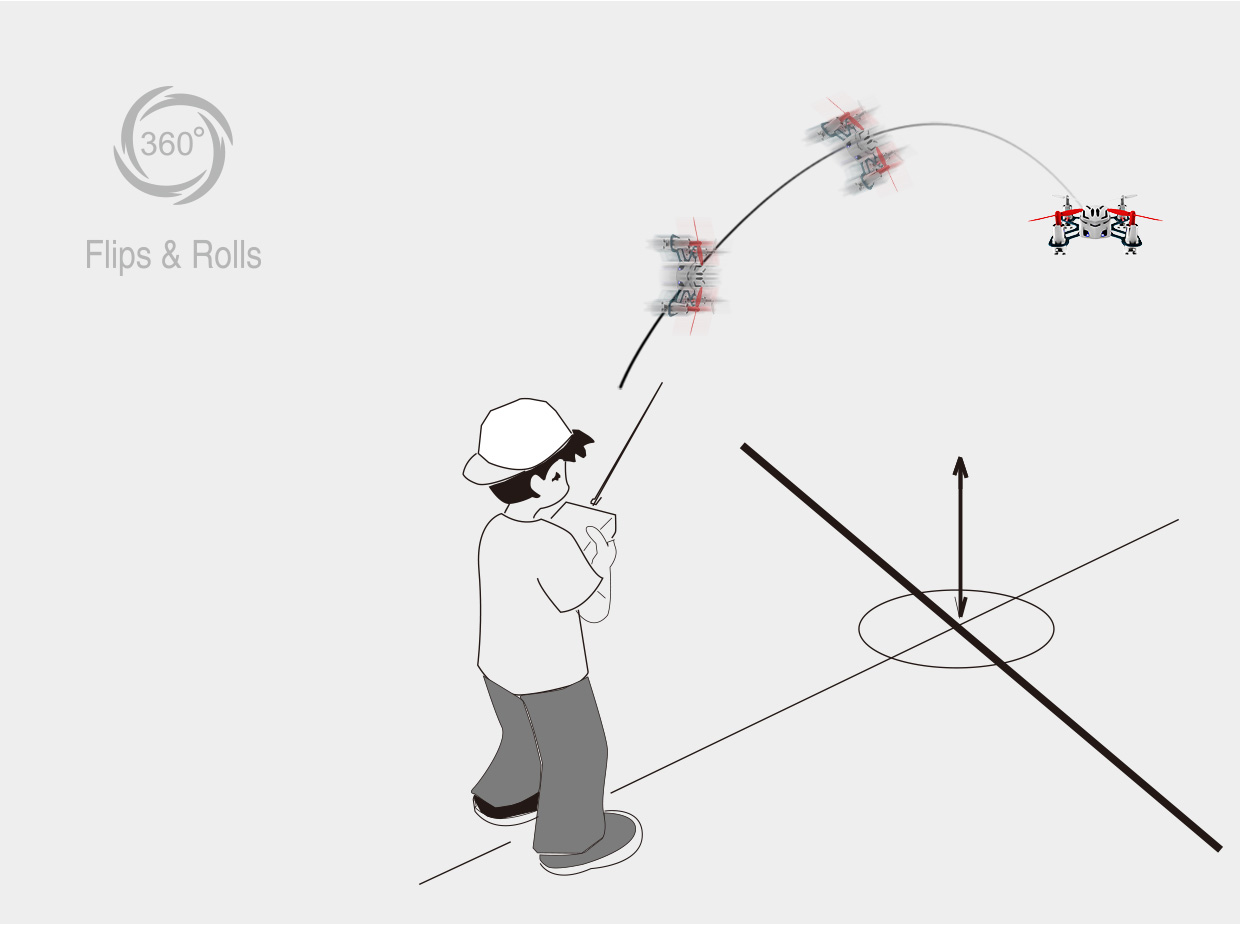
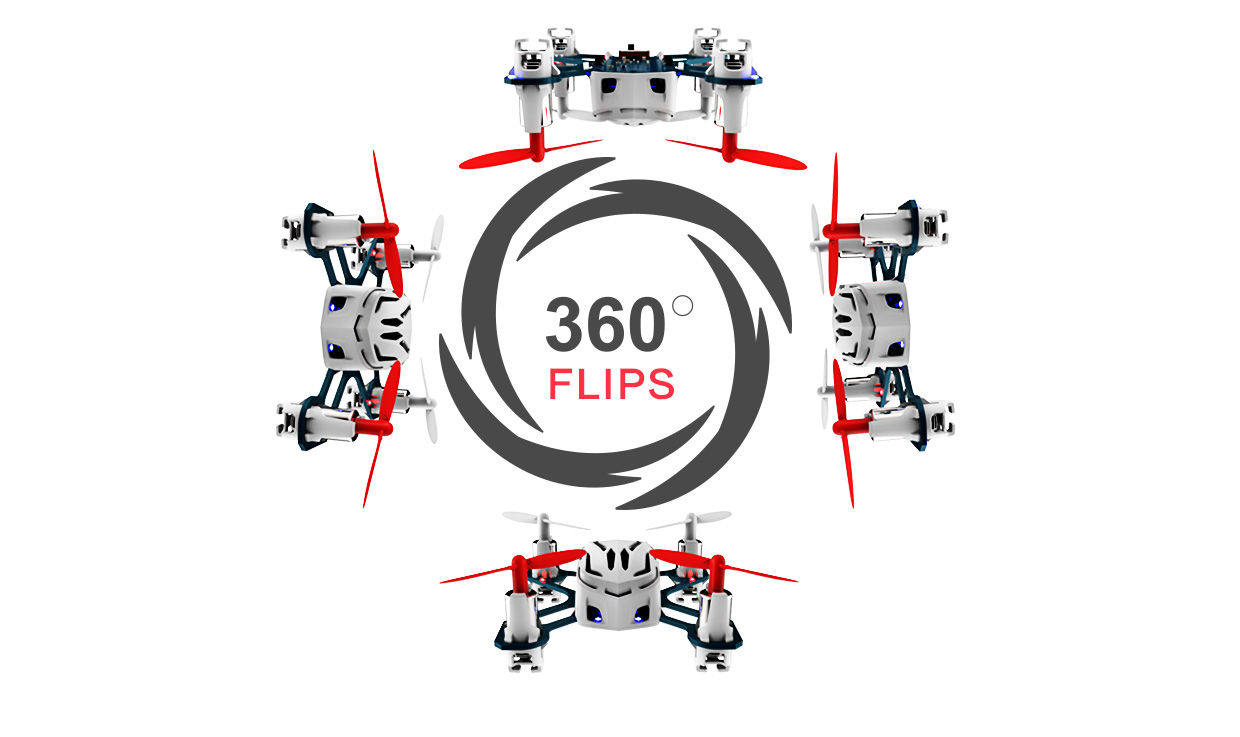
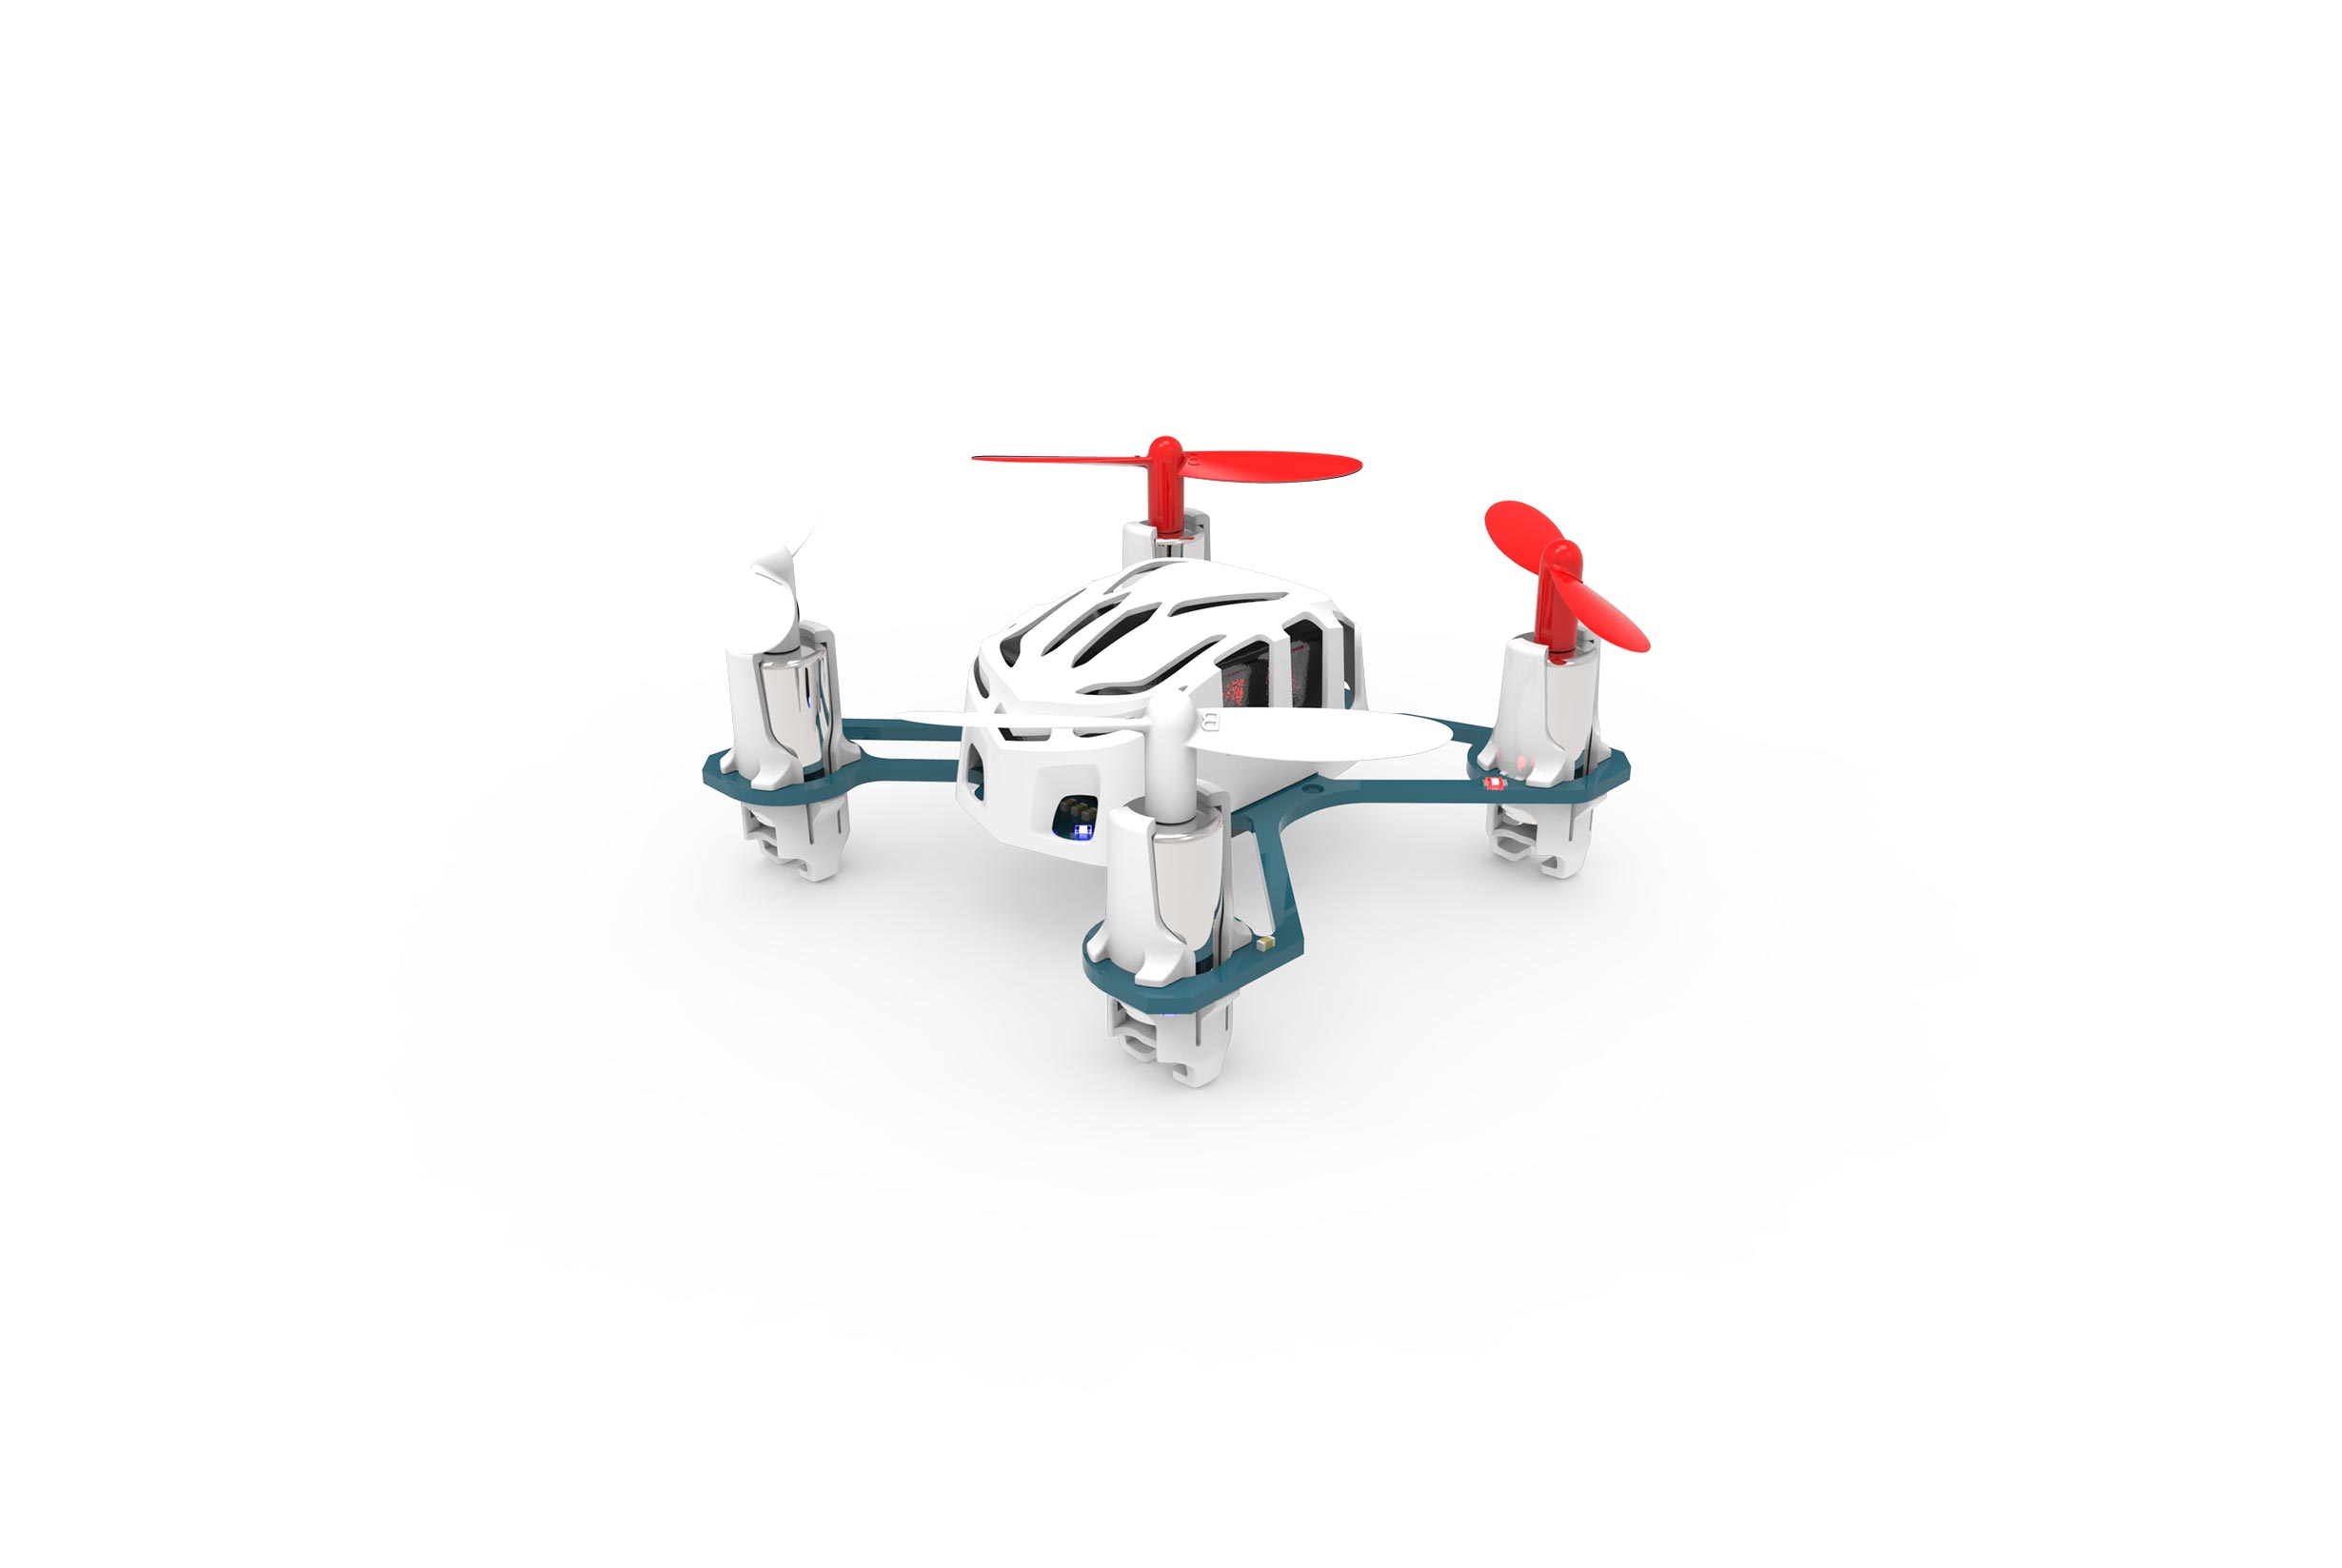
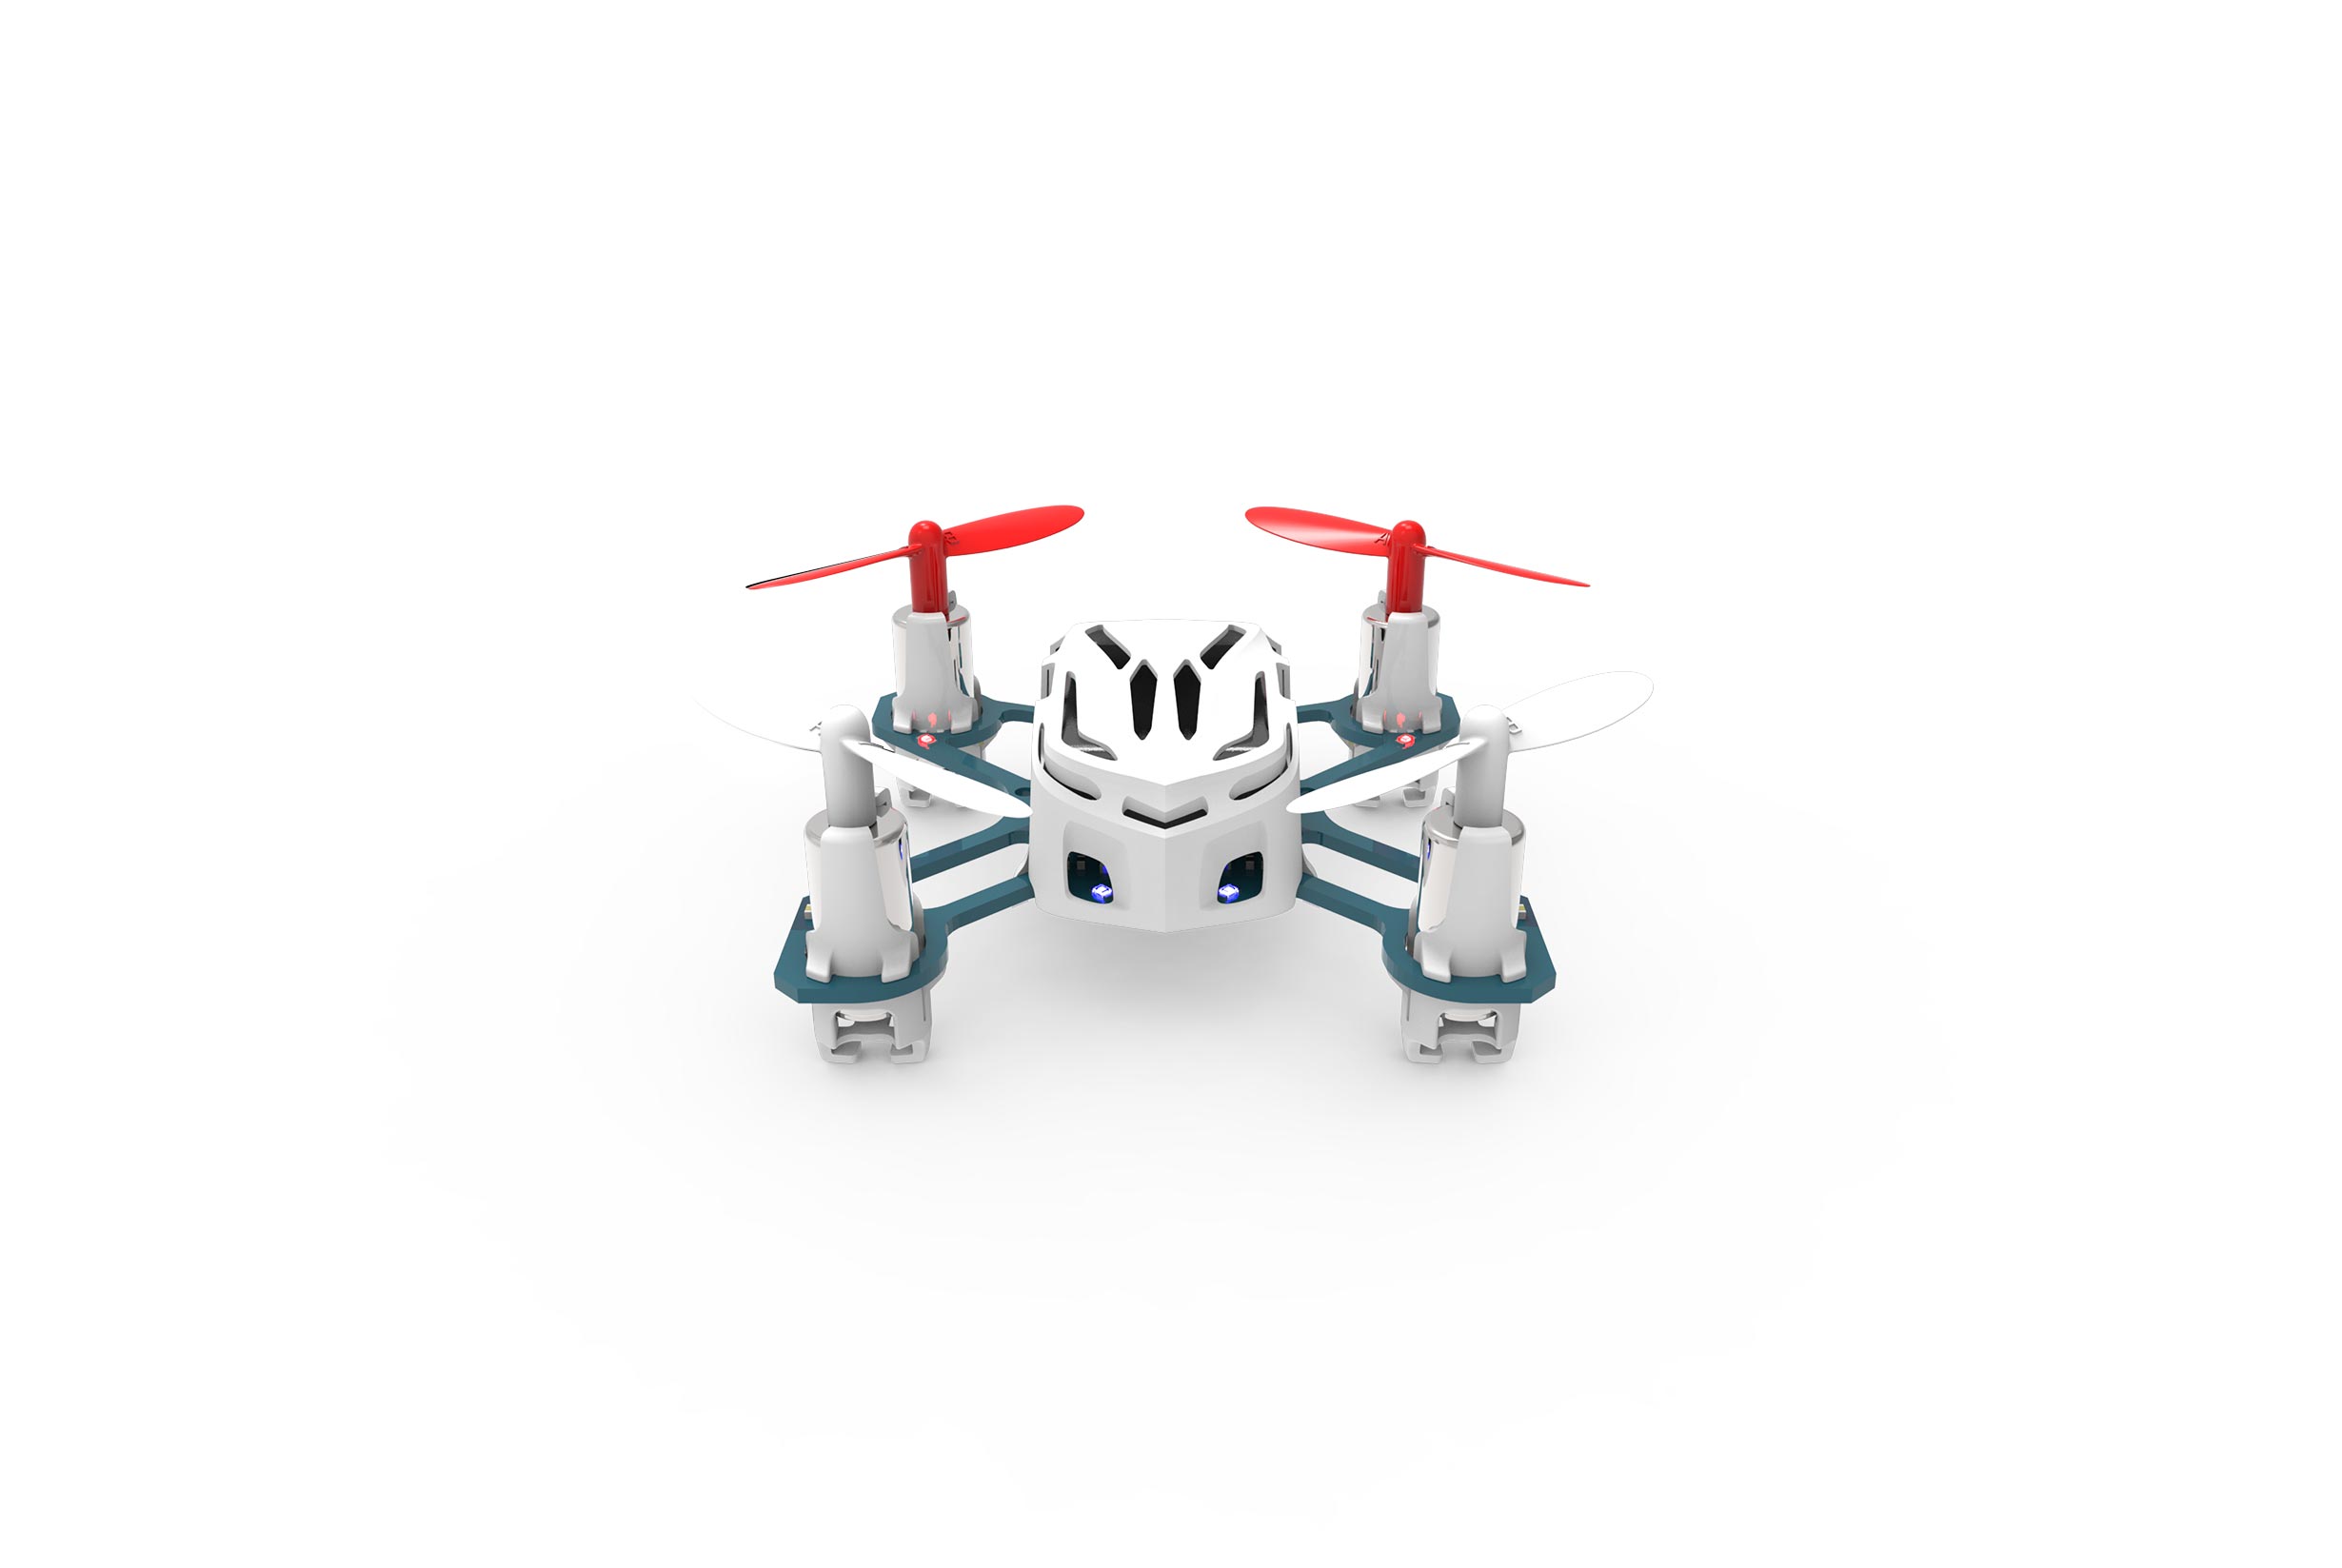
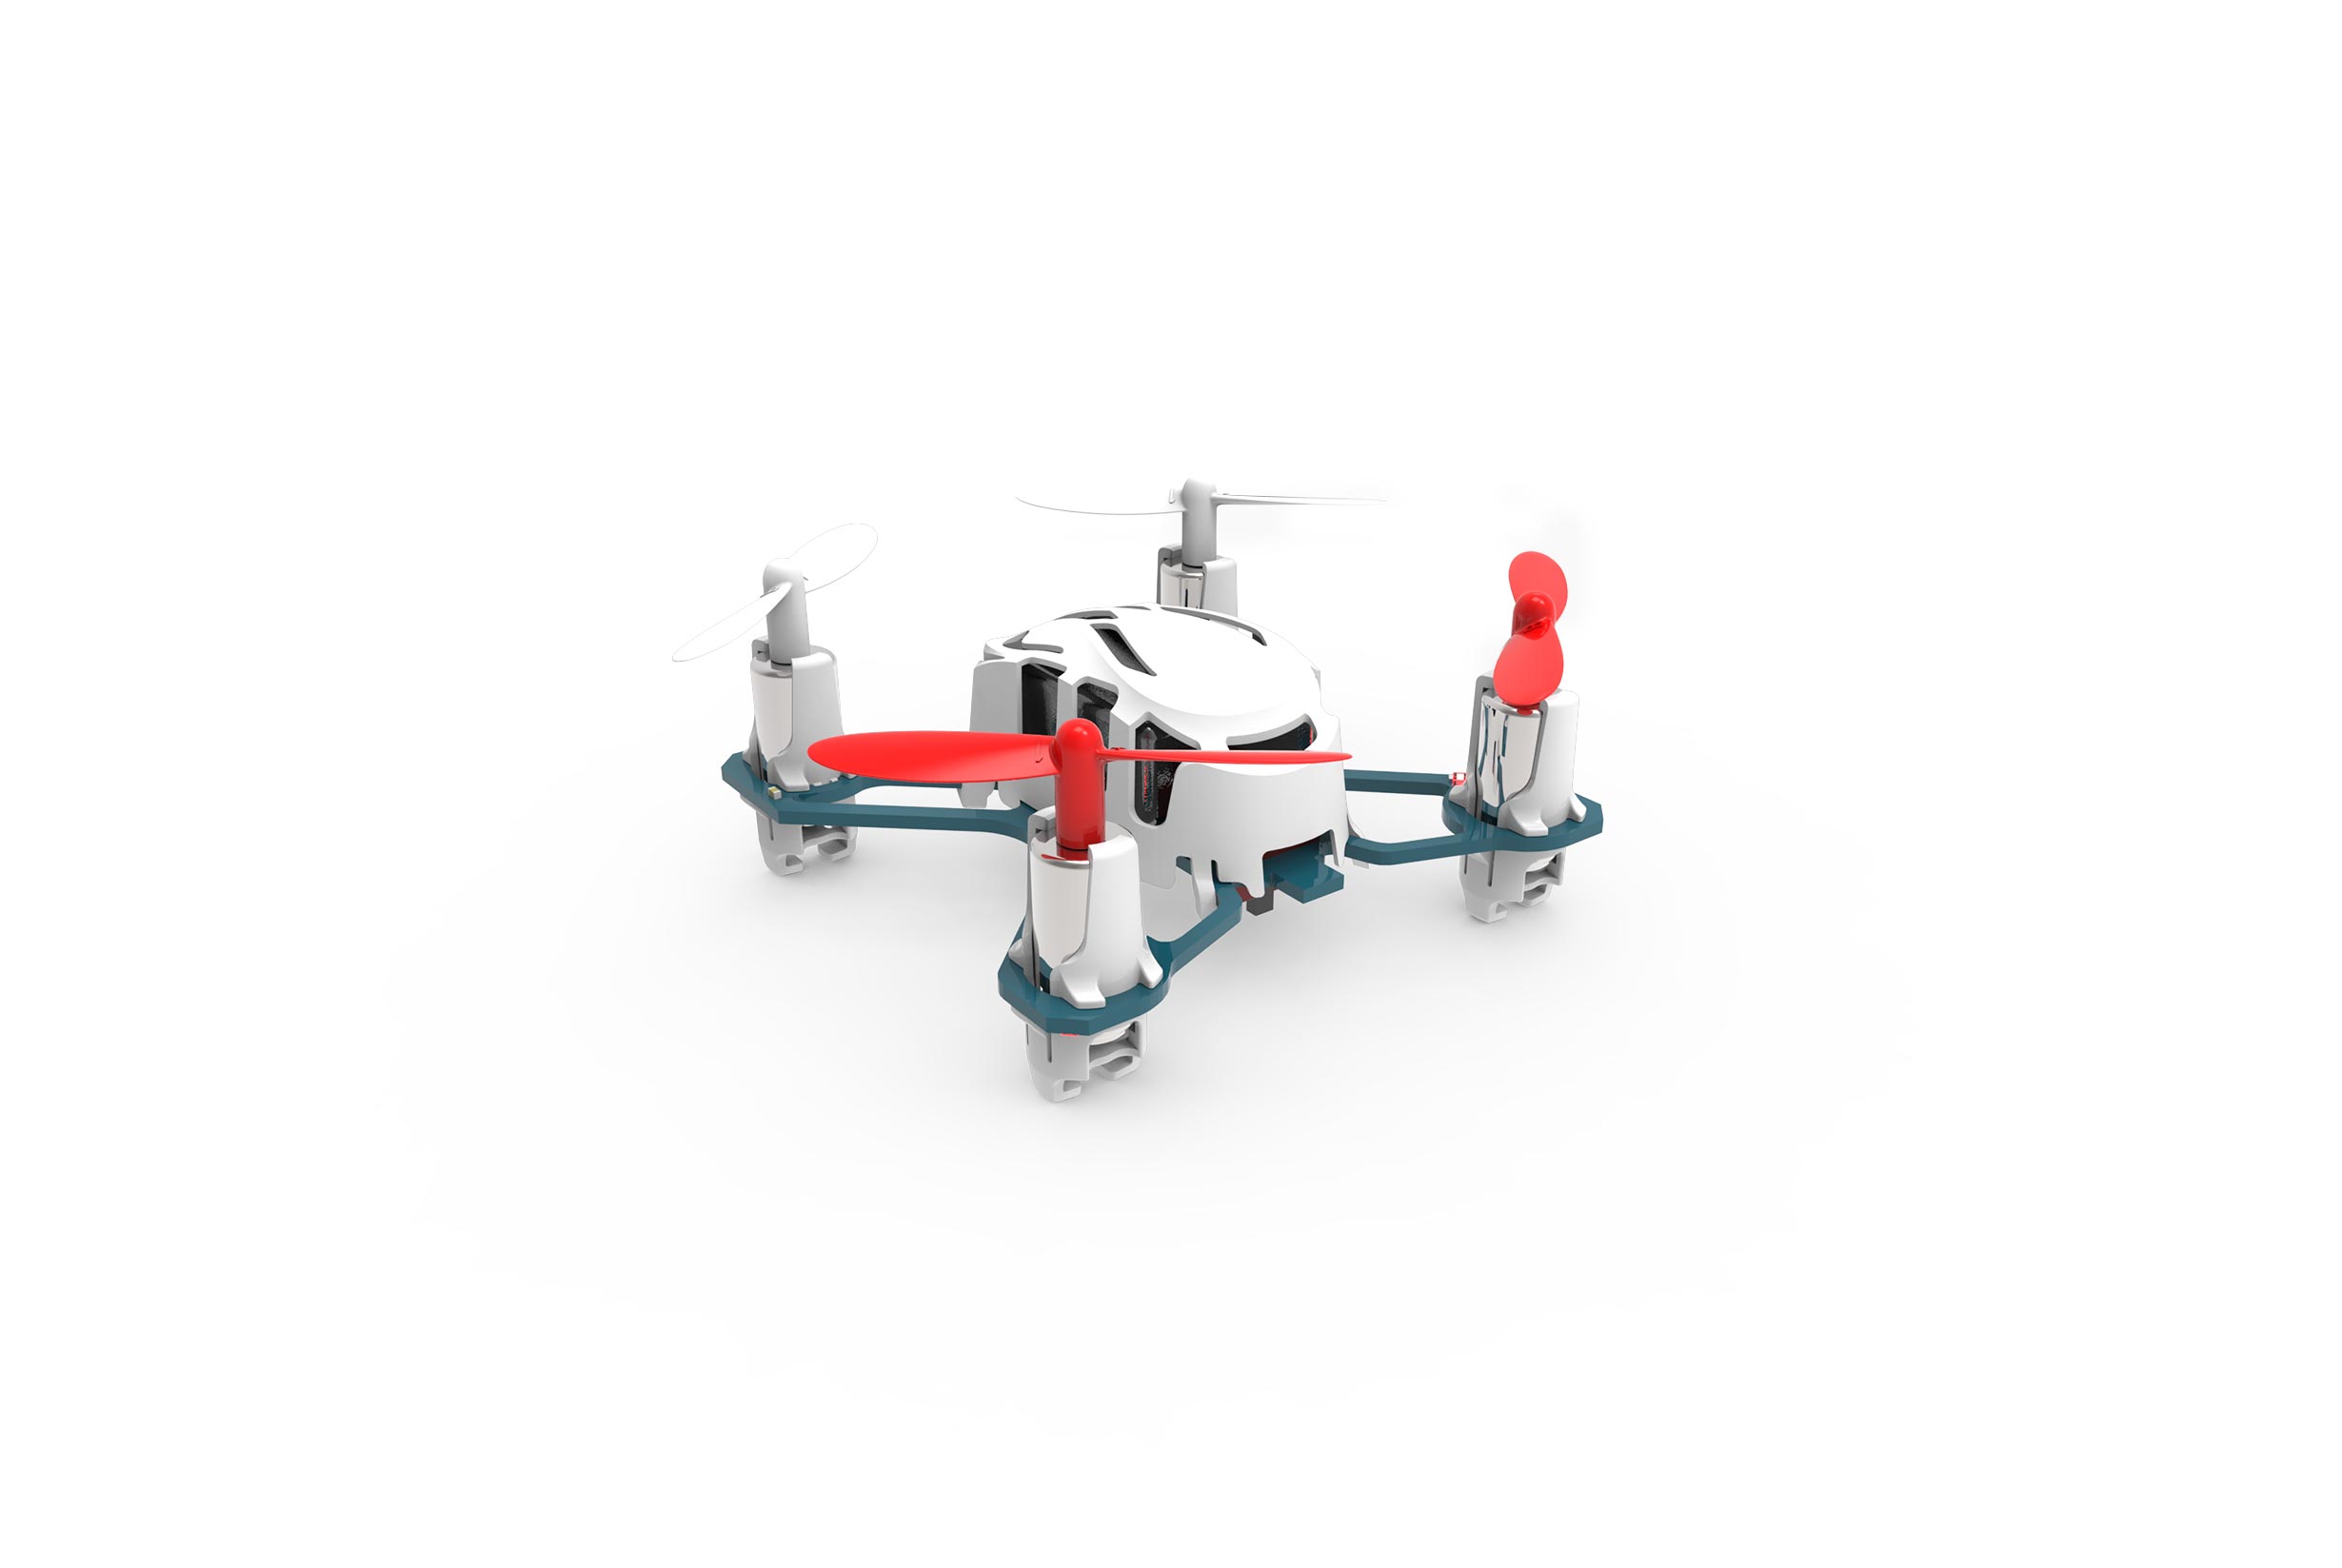
HUBSAN Nano Q4 RTF Quadcopter
HUBSAN Nano Q4 This quadcopter is Ready-To-Fly right out of the box. Suitable for indoor and outdoor flying. The 6-axis flight control system allows the Hubsan Nano Q4 to maintain stable flight even in light wind conditions. Meet the Hubsan Nano Q4
|


")
Lemon RX DSMP 7-CH RECEIVER (DSMX/DSM2 COMPATIBLE)
| Lemon RX DSMP 7-CH RECEIVER (DSMX/DSM2 COMPATIBLE)
Description: Lemon Rx DSMX Compatible 6-Channel Receiver + Lemon DSMX Compatible Satellite
Highlight
Setup Instruction Binding
Setting Failsafe
|

LM-0081
$21.99
")
BMS-125WV+ MICRO WIDE VOLTAGE-DIGITAL, HIGH TORQUE, CORELESS SERVO (7.1kg/98.6oz 0.09 sec @8.4V)
BMS-125WV+ MICRO WIDE VOLTAGE-DIGITAL, HIGH TORQUE, CORELESS SERVO (Upgraded) |
BBR-BMS-125WV+
$27.99

Vorza S Flux Buggy, 1/8 Scale 4WD RTR Brushless w/2.4GHz Radio System, Green
| Vorza S Flux Truggy, 1/8 Scale 4WD RTR Brushless w/2.4GHz Radio System, Green |
HPI160179
$549.99