
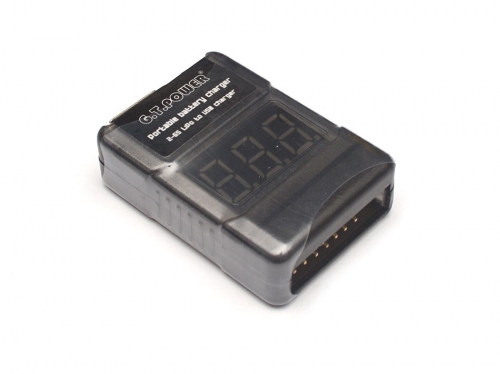
GT Power Portable LiPo Battery Charger and Tester
Description: LiPo to USB Portable Battery Charger. Oh No!.. you are at the flying field and your phone is low on battery. Do you run to your car and search for an outlet? Is the outlet too far away? RedwingRC has the answer!! Grab one of the extra batteries you brought and charge or power your device right there! So Simple. Suitable for all kinds of cell phones and smart phones. This charger has built-in current overload protection for safety and has a digital readout.
Video
Specs:
Suitable for all kinds of mobile phones such as Iphone and USB power supply and also includes overload current protection.
|
")
Lemon RX DSMP 7-CH RECEIVER (DSMX/DSM2 COMPATIBLE)
| Lemon RX DSMP 7-CH RECEIVER (DSMX/DSM2 COMPATIBLE)
Description: Lemon Rx DSMX Compatible 6-Channel Receiver + Lemon DSMX Compatible Satellite
Highlight
Setup Instruction Binding
Setting Failsafe
|

LM-0081
$21.99
")
BMS-125WV+ MICRO WIDE VOLTAGE-DIGITAL, HIGH TORQUE, CORELESS SERVO (7.1kg/98.6oz 0.09 sec @8.4V)
BMS-125WV+ MICRO WIDE VOLTAGE-DIGITAL, HIGH TORQUE, CORELESS SERVO (Upgraded) |
BBR-BMS-125WV+
$27.99

Vorza S Flux Buggy, 1/8 Scale 4WD RTR Brushless w/2.4GHz Radio System, Green
| Vorza S Flux Truggy, 1/8 Scale 4WD RTR Brushless w/2.4GHz Radio System, Green |
HPI160179
$549.99