
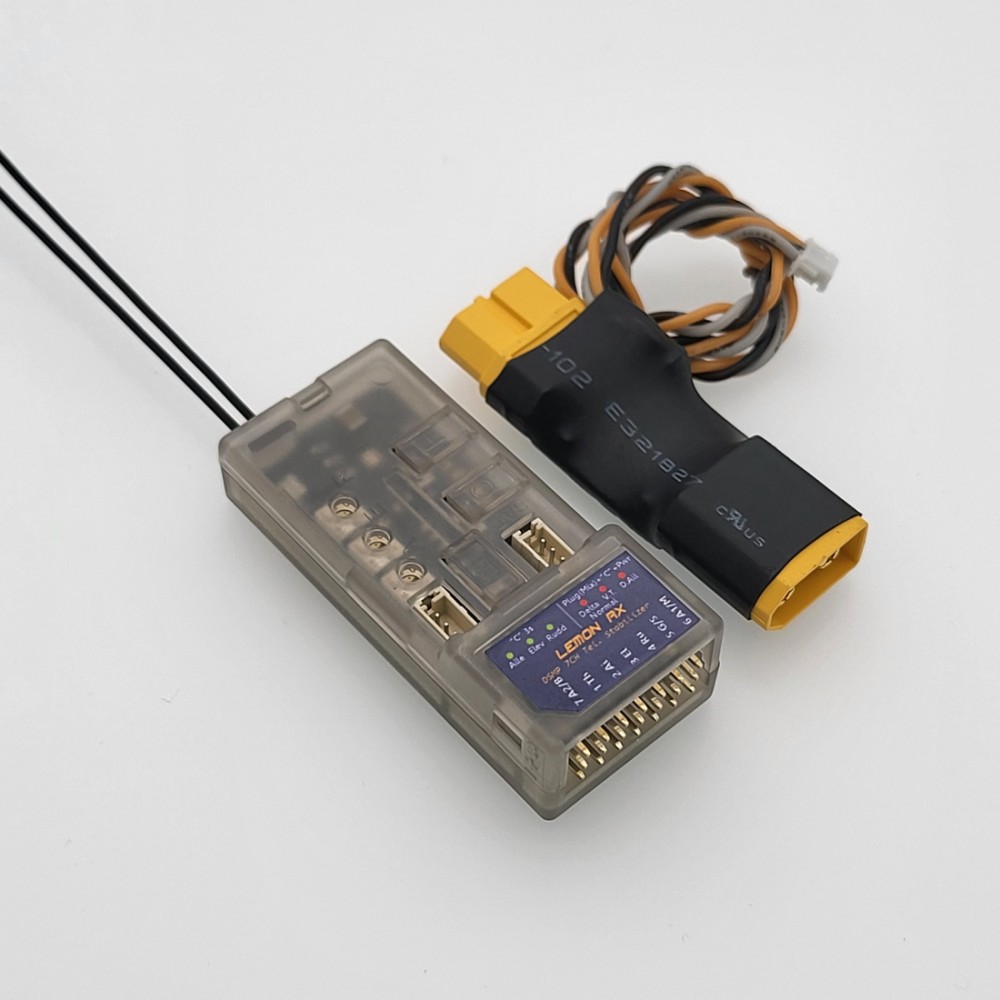
Lemon RX DSMP 7-CH TELEMETRY STABILIZER & XT60 ENERGY METER (DSMX/DSM2 COMPATIBLE)
Lemon RX DSMP 7-CH TELEMETRY STABILIZER & XT60 ENERGY METER (DSMX/DSM2 COMPATIBLE) Product Specifications
Highlight The generation 2 DSMP 7-channel telemetry stabilizer is a complete redesign that provides the ultimate reliability, features and performance.
User manual - See www.lemon-rx.com/manual Reset stabilizer
Bind with bind plug
Bind without bind plug
Bind with a satellite without a bind plug
Failsafe
Stabilization activation switch
Wing Mode and Dual Aileron
Gyro direction
V/I sensor calibration
V/I probe calibration
Gain setting - Adjust via the 3 dials or real-time master gain on channel 8 depending on the transmitter channel's availability. View setting LEDs with all on - Press the C button briefly (no more than 2 seconds). |
7S Pulse LiPo Batteries
| 7S Pulse LiPo Batteries
Description:Pulse Lithium Polymer Batteries - Setting a New Standard. As Lithium Polymer battery technology continues to push new boundaries, Pulse Lithium Polymer Batteries bring a whole new element into the mix - power & performance at a price that simply can't be ignored. Pulse Batteries Available Individually or in a PRE-MADE System!Take the guesswork out of your electric battery set up- we've done it for you! Check out the suggested set up systems for 30cc and 50cc. LiPo 4500mah 5S, 18.5v - $104.99 each 30cc 10S System: Two (2) LiPo 4500mah 5S, 18.5v - $208
30cc 12S System #1: Two (2) LiPo 3300mah 45C 6S, 22.2v - $188
30cc 12S System #2: Two (2) LiPo 3700mah 45C 6S, 22.2v - $218
30cc 12S System #3: Two (2) LiPo 4100mah 45C 6S, 22.2v - $238
50cc 12S System #1: Two (2) LiPo 5000mah 45C 6S, 22.2v - $278
50cc 12S System #2: Two (2) LiPo 5500mah 45C 6S, 22.2v - $298
50cc 12S System #3: Two (2) LiPo 6000mah 35C 6S, 22.2v - $298
Purchase pre-made system or buy individually! Select below.
|
PLU-7S
$149.99
")
QS8-S Heavy Duty Anti Spark Connector (1 pair M/F 130A)
| QS8-S Heavy Duty Anti Spark Connector (1 pair M/F 130A)
Description:
|
EX-QS8-Connector
$9.99
")
Scorpion A-4220 Pro PNP Combo (6s / 15-20cc /70E+ / 2550+w)
| Scorpion A-4220 Pro PNP Combo (6s / 15-20cc /70E+ / 2550+w) Thinking about converting your 50cc gas powered plane to electric power? Our 50cc size electric powerset combo takes the hassel out of figuring out exactly what you need because we've done it for you! By choosing one of our pre-grouped electric power combos, you are getting everything you need to convert your plane to electric power in one click of your mouse. This combo includes the electric motor, the electric speed controller, a battery pack and a prop. Features
For those lucky people who have more than one plane be sure to check out our 20cc and 30cc Electric Powersets also! |
combo-A-4220-PNP-pro-70e+
$419.99