Standoff Set (2.5-10mm) Adjustable Engine Mount Stand Off Kit w/4mm Nuts & Bolts (4pcs)

Contact UsCustomer Reviews

Standoff Set (2.5-10mm) Adjustable Engine Mount Stand Off Kit w/4mm Nuts & Bolts (4pcs)

Our Price:

$14.99


Quantity (10)

Availability 10 in stock
Weight 0.25 lbs
SKU KAG0221

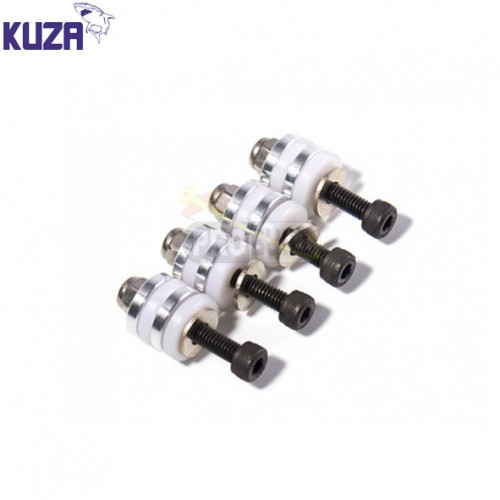
Standoff (17-20mm) 50-70CC (Anodized Gas Engine 25mm Stand Off Mounting Kit w/5mm Nuts & Bolts- 4pcs)

These stand offs are perfect for mounting small to medium size engines, they allow clearance from the firewall or to move the engine far enough forward for the prop driver assembly to clear the cowl. These stand offs are CNC machined from a solid billet of aluminum for lightness and durability, and supplied with 4 x 4mm mounting bolts with PTFE and metal washers. PTFE (Polytetrafluoroethylene ) is a synthetic fluoropolymer of tetrafluoroethylene that is used in precision parts and has excellent stiffness and dimensional stability.

Specs:
Stand Off Distance: 2.5-10mm
Mounting Bolt: 4mm
Color: Silver
Suits: small to medium size engines
Quantity: 4 x stand offs, 4 x 4mm nut & bolt, 4 x 4mm washer, 8 x 4mm PTFE washer


: *
: *
: *
 

Lemon RX DSMP 7-CH RECEIVER (DSMX/DSM2 COMPATIBLE)

Lemon RX DSMP 7-CH RECEIVER (DSMX/DSM2 COMPATIBLE)


Description:

Lemon Rx DSMX Compatible 6-Channel Receiver + Lemon DSMX Compatible Satellite


Type: DSMX Compatible Full Range Receiver
Number of Channel: 6
Modulation: DSMX Compatible (Also DSM2 backward Compatible)
Band: 2.4 GHz
Dimension: 25(L) x 18(W) x 11(H)  mm
Weight: 4.5 grams + 2.5 grams
Voltage Range: 3.45 - 8.4 V


Highlight
- FailSafe for all channels via press of a button
- DSMX Satellite port


Understanding the receiver


Setup Instruction

Binding

  1. Plug bind plug to the receiver.
  2. Provide power to the unit. LED flashes quickly.
  3. Enable bind mode in transmitter and ensure distance separation of 2 meters from receiver. Solid LED light means binding is completed.
  4. Remove bind plug.

Setting Failsafe

  1. Start by binding the receiver to the transmitter in the normal way and proceed as follows to set failsafe
  2. Ensure that transmitter and receiver are turned on.
  3. Insert bind plug into the receiver (Note: to set failsafe, bind plug is applied only when the receiver is turned on).
  4. Set transmitter controls to the desired failsafe positions.
  5. Press the side pushbutton to memorize failsafe settings.
  6. Observe that the green light at the end of the receiver turns on to indicate failsafe is set. (Repeat step 4 will cause the LED to turn off which means failsafe is disabled).
  7. Remove bind plug.
  8. Disconnect the power for at least 2 seconds and then reconnect the power again. Test failsafe by turning off the transmitter.


LM-0081

$21.99

BMS-125WV+ MICRO WIDE VOLTAGE-DIGITAL, HIGH TORQUE, CORELESS SERVO (7.1kg/98.6oz 0.09 sec @8.4V)

BMS-125WV+ MICRO WIDE VOLTAGE-DIGITAL, HIGH TORQUE, CORELESS SERVO (Upgraded)

BBR-BMS-125WV+

$27.99

Vorza S Flux Buggy, 1/8 Scale 4WD RTR Brushless w/2.4GHz Radio System, Green

Vorza S Flux Truggy, 1/8 Scale 4WD RTR Brushless w/2.4GHz Radio System, Green

HPI160179

$549.99