
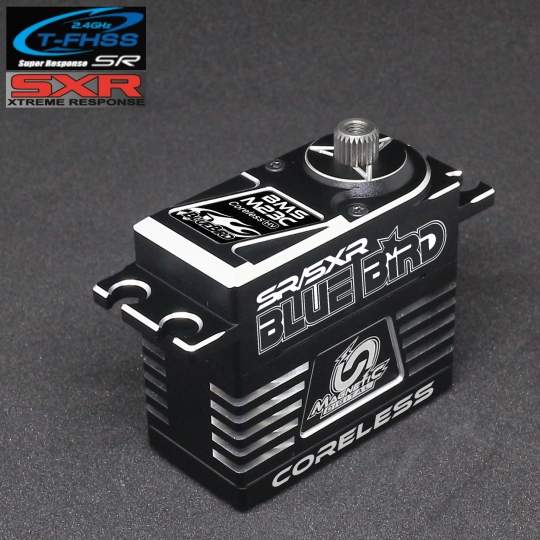
BMS-M23C MAGNETIC , HV-DIGITAL, HIGH TORQUE, SUPER HIGH SPEED, CORELESS +Servo Arm (35.6kg/494.5oz, 0.05 sec at 8.4V)
BMS-M23C MAGNETIC , HV-DIGITAL, HIGH TORQUE, SUPER HIGH SPEED, CORELESS +Servo Arm (35.6kg/494.5oz, 0.05 sec at 8.4V) Magnetic so no friction from a Potentiometer! Smoother (magnetic), Precision, More Reliable & More Efficiency
Application / Suitable
Electrical Specification (Function Of The Performance)
Protection Mechanism
Power Supply
Control Specification
Mechanical Specifications
Physical Specifications
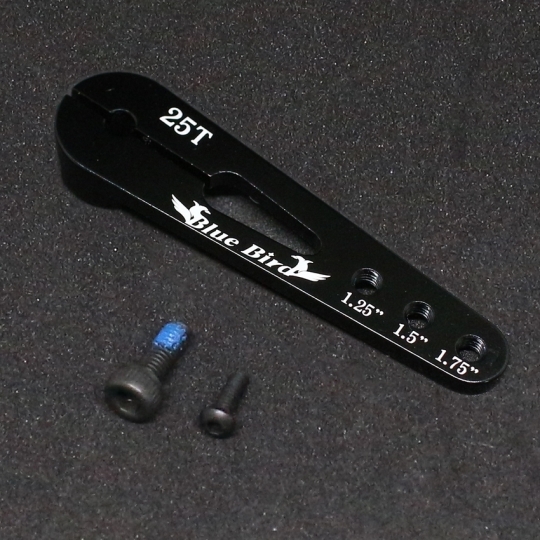
Includes Servo and Servo Arm |
.png)


ManiaX Power LiPo 3S 2600mAh 11.1V eXpert Series 45C
| ManiaX LiPo 3S 2600mAh 11.1V eXpert Series 45C
|
MX-3S-2600-45C
$32.99

 MICROBRICK WITH 2 ON-BOARD SERVOS and MOLEX 2.00MM CONNECTOR PACKAGE")
Lemon RX DSMP (DSMX/DSM2 COMPATIBLE) MICROBRICK WITH 2 ON-BOARD SERVOS and MOLEX 2.00MM CONNECTOR PACKAGE
| Lemon RX DSMP (DSMX/DSM2 COMPATIBLE) MICROBRICK WITH 2 ON-BOARD SERVOS and MOLEX 1.25MM CONNECTOR PACKAGE
Description: Lemon Rx DSMX Compatible 6-Channel Receiver + Lemon DSMX Compatible Satellite
Highlight
Setup Instruction Binding
Setting Failsafe
|

LM-0070M2
$48.00